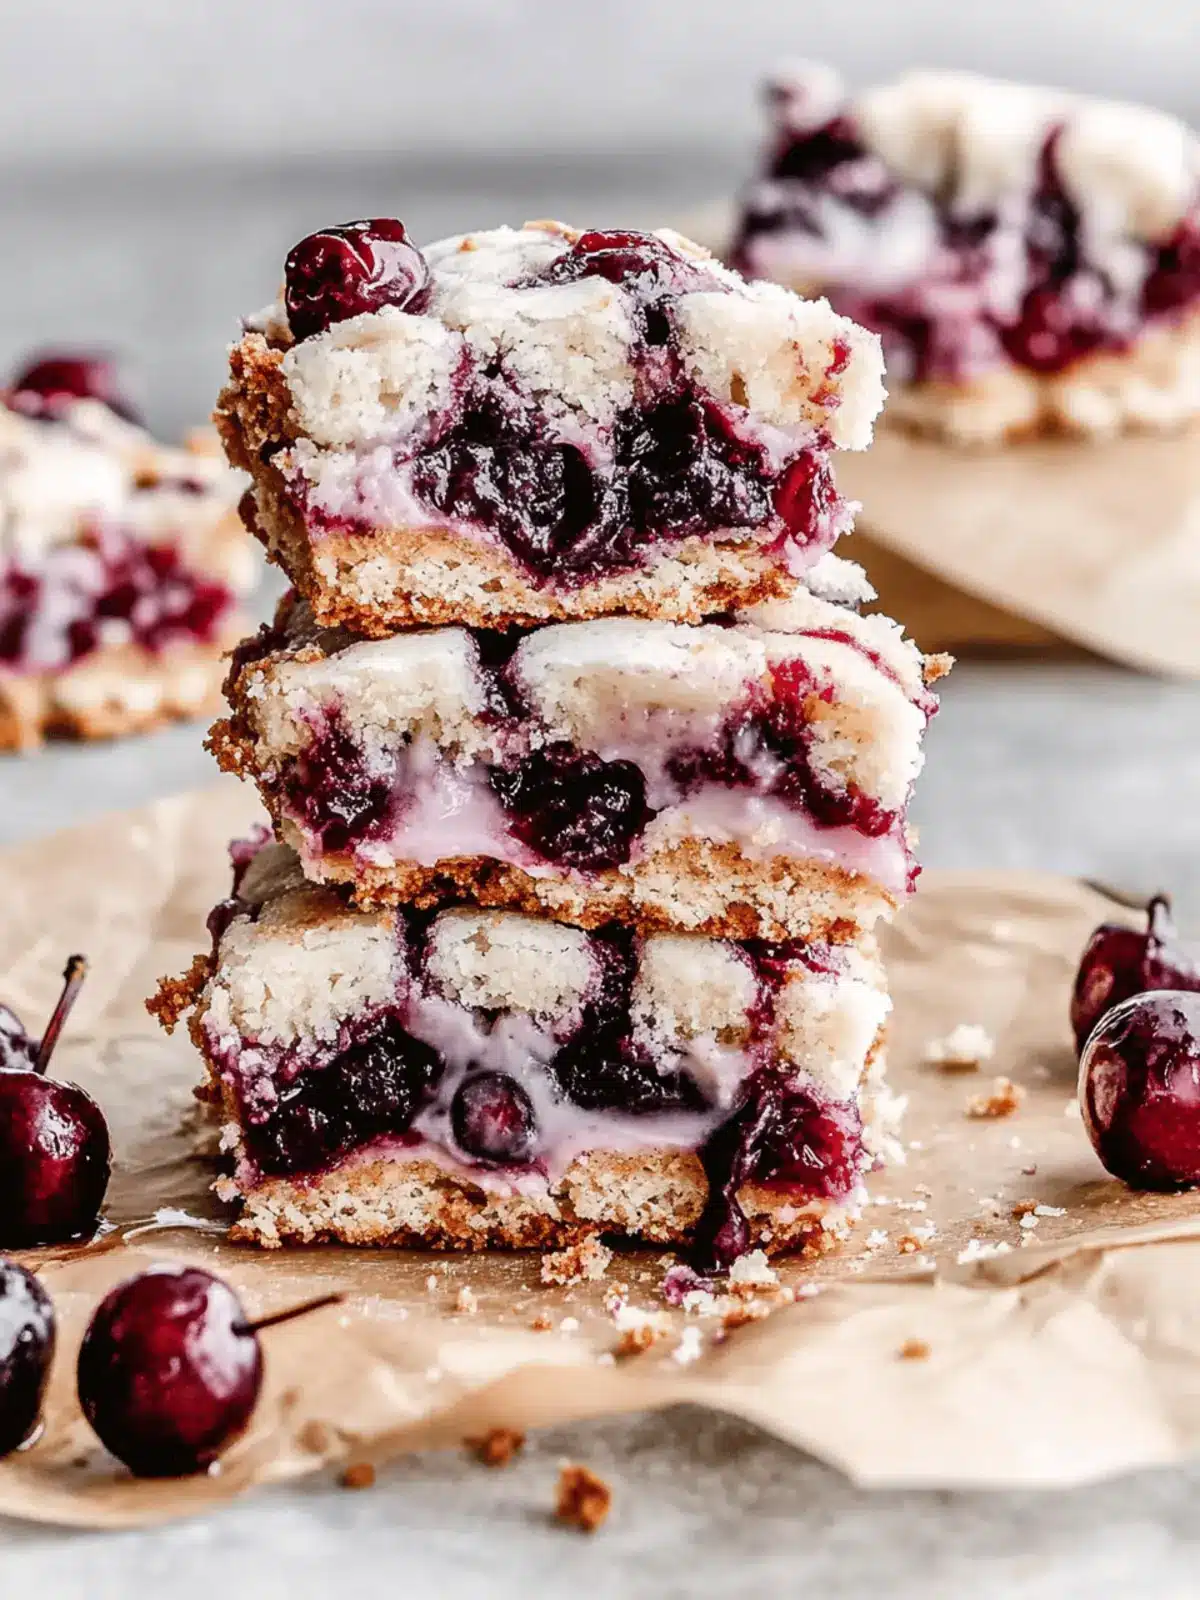
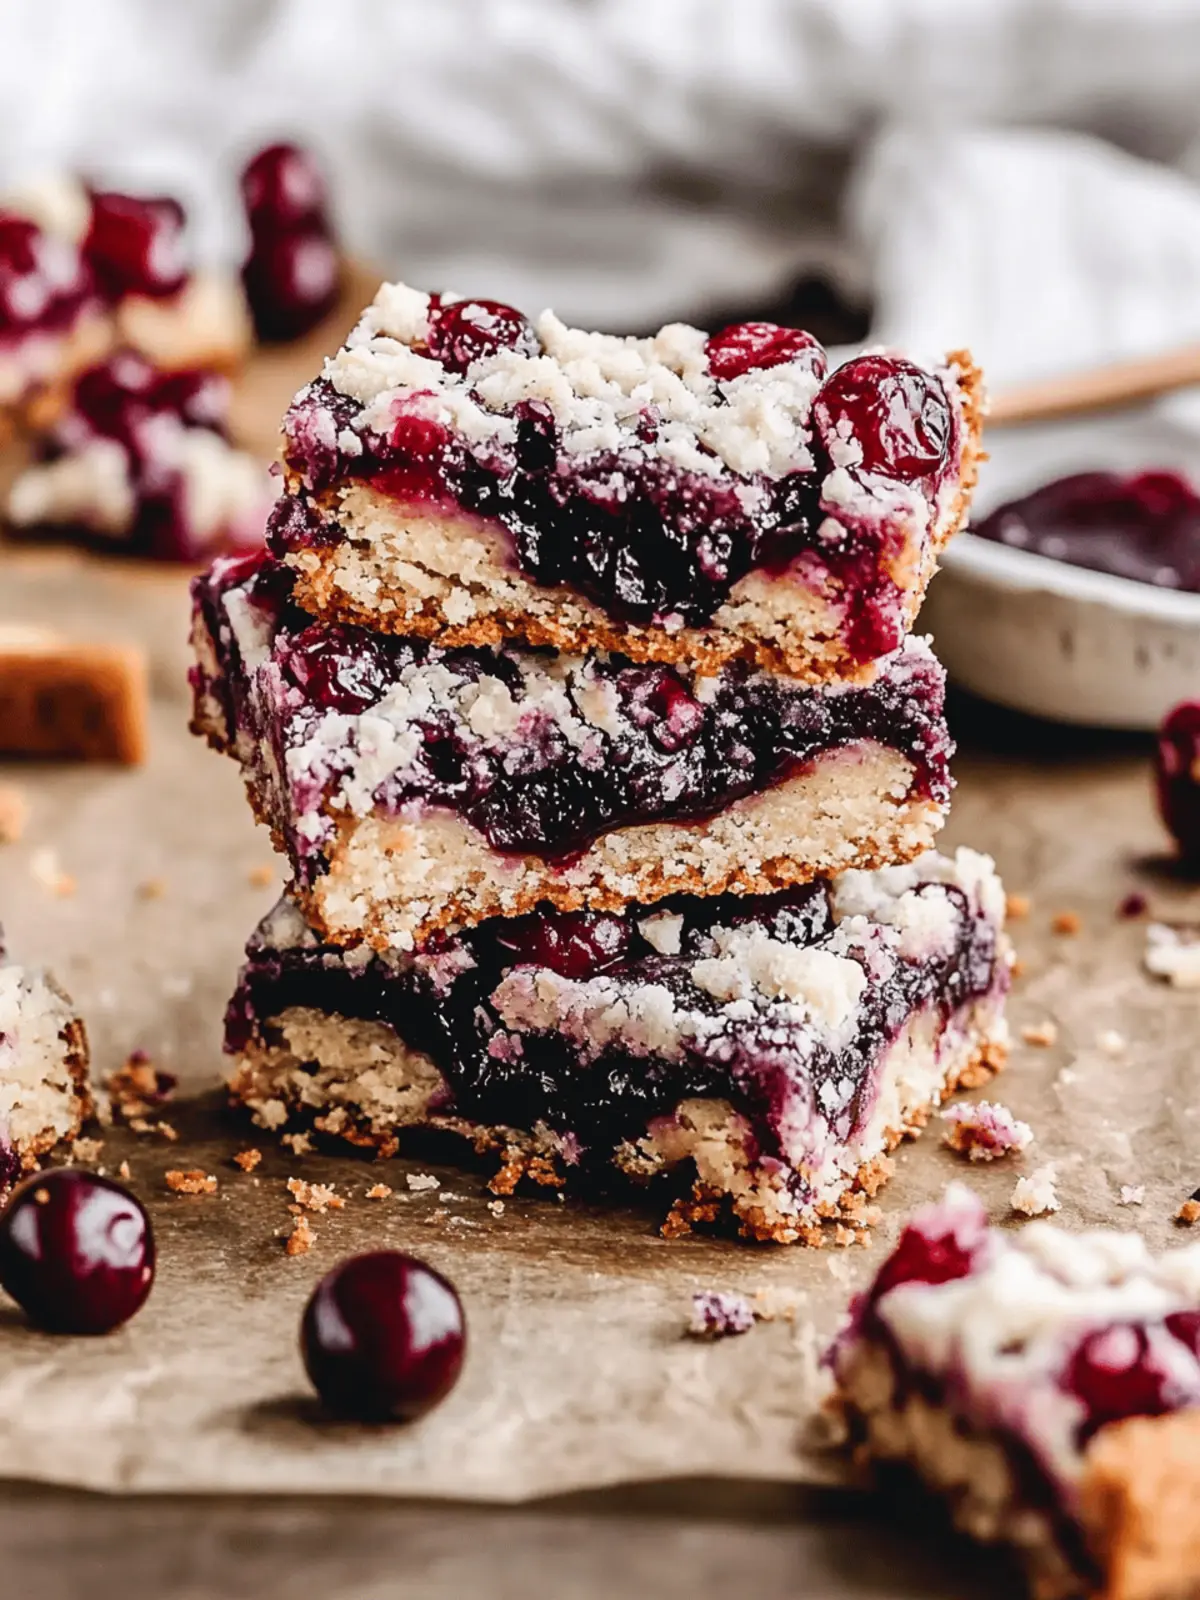
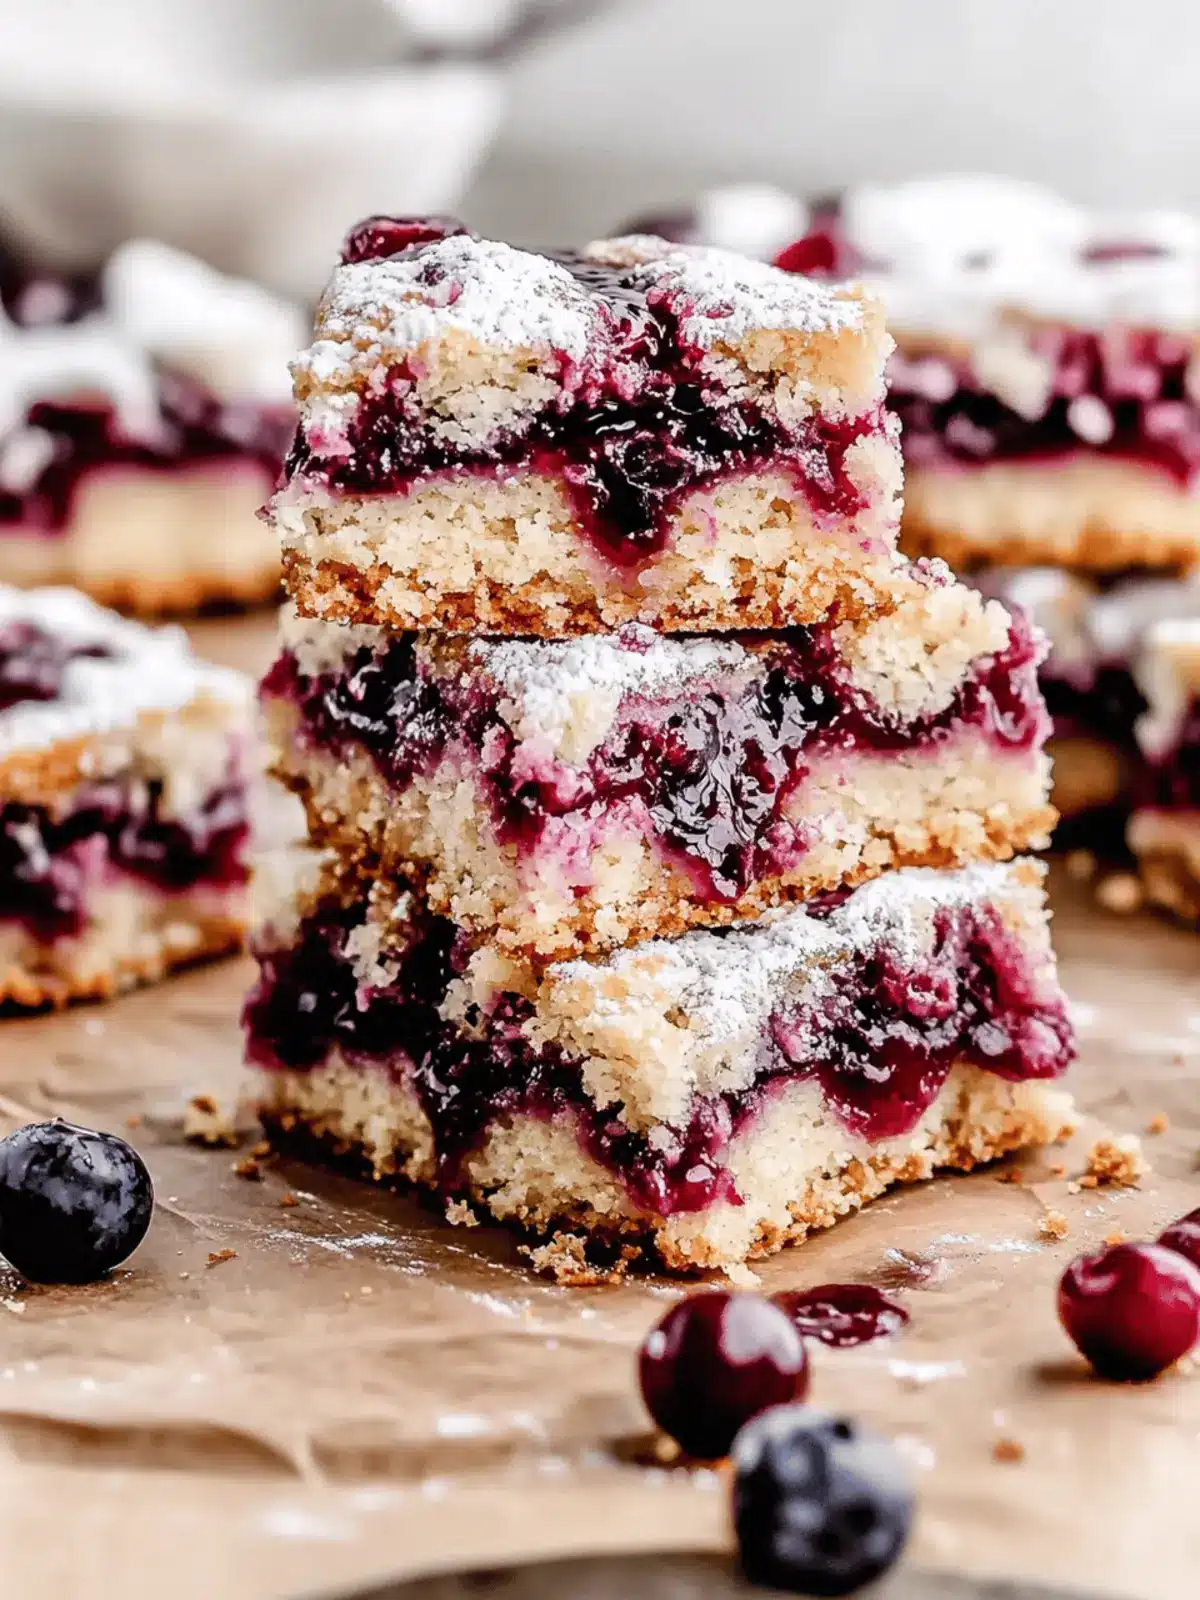
The moment I take a bite of these easy cherry bars, I’m transported back to summer picnics and cozy family gatherings, where laughter filled the air and the sweet aroma of freshly baked desserts lingered. There’s a certain joy in creating a treat that’s not only quick to whip up but also utterly delicious—these bars combine buttery shortbread with luscious tart cherry filling and are drizzled with a sweet almond glaze that’s simply irresistible!
Whether you’re looking for a delightful dessert to impress friends or just want to satisfy a sweet craving at home, these cherry bars are the answer. They’re perfect as a handheld snack, ideal for sharing, and will surely keep family and friends coming back for seconds. Plus, with a few easy swaps, they can cater to gluten-free diets, ensuring everyone can enjoy this indulgent treat. So, let’s grab those cherries and get baking—your taste buds are in for a treat!
Why are Cherry Bars the Ultimate Dessert?
Delightful bursts of flavor await you in each bite of these cherry bars! Easy to make, they require minimal prep and baking time while delivering maximum taste. Versatile enough to allow for flavor swaps, like blueberry or peach, there’s something for everyone. Perfectly portable, these bars are ideal for summer picnics or lunchboxes. With the added bonus of being gluten-free when using the right flour, they’re suitable for all dietary needs. Explore more delicious baked treats with our handy recipe for gluten-free cookies that everyone will love!
Cherry Bars Ingredients
For the Base
• Unsalted Butter – Provides richness and moisture; make sure it’s softened for easy blending.
• Granulated Sugar – Adds sweetness and helps achieve a light, tender texture.
• Eggs – Act as a binder; ensure they are at room temperature for the best emulsion.
• Vanilla Extract – Enhances the overall flavor profile; opt for pure vanilla for the richest taste.
• Baking Powder – Ensures the bars rise and stay light; don’t skip this crucial ingredient!
• Kosher Salt – Balances the sweetness; a little goes a long way in elevating flavors.
• Whole Wheat Pastry Flour – Offers a delicate crumb; can be swapped with all-purpose flour as needed.
For the Cherry Filling
• Cherry Pie Filling – The star of the show, providing that tart flavor; try a homemade version for extra freshness.
For the Topping
• Sliced Almonds – Adds delightful texture and visual appeal; feel free to substitute with chopped walnuts or omit for a nut-free option.
For the Glaze
• Powdered Sugar – The main ingredient for a sweet glaze; can substitute with a sugar alternative if desired.
• Almond Extract – Infuses the glaze with a lovely nutty aroma; vanilla extract can be used as an alternative.
• Milk – Helps reach the perfect glaze consistency; use plant-based milk for a non-dairy option.
Whip up these cherry bars effortlessly and prepare for the deliciousness that’s just a few steps away!
How to Make Cherry Bars
-
Preheat the oven to 350°F (175°C) and prepare your 8×8-inch baking pan with a light coat of cooking spray and a lining of parchment paper to ensure easy removal.
-
In a stand mixer, cream the softened butter and granulated sugar together until light and fluffy, about 2 minutes—this step is crucial for a tender texture!
-
Add the eggs one at a time, allowing each to fully blend in before mixing in the pure vanilla extract. This will enhance the flavors beautifully!
-
Combine the baking powder and kosher salt with the butter mixture, then gradually incorporate the whole wheat pastry flour until just blended—the dough will be moist and slightly sticky.
-
Reserve ½ cup of the dough, then firmly press the remaining dough into the bottom of your prepared pan, creating an even base.
-
Spread the cherry pie filling evenly over the dough layer, ensuring every bite will be packed with that delicious tart flavor.
-
Mix the reserved dough with the sliced almonds and dot it over the cherry filling, creating a lovely almond-studded topping.
-
Bake in the preheated oven for 50-55 minutes, or until the top is golden brown and the bars are set—a tantalizing aroma will fill your kitchen!
-
Cool the bars completely on a wire rack before drizzling with the sweet glaze made from powdered sugar, almond extract, and milk after taking them out of the pan.
Optional: Serve warm with a scoop of vanilla ice cream for an extra indulgent treat!
Exact quantities are listed in the recipe card below.
Expert Tips for Cherry Bars
Cool Filling: Ensure cherry pie filling is completely cool before spreading it on the dough to avoid a soggy crust.
Egg Temperature: Use room temperature eggs to achieve a better emulsion, creating a uniform texture in your cherry bars.
Measuring Flour: Spoon and level your flour when measuring. Avoid packing it down, as this can lead to dry bars.
Allow to Cool: Let the bars cool completely before cutting for clean, crisp edges. Warm bars can crumble more easily.
Gluten-Free Option: For a gluten-free version, substitute whole wheat flour with a gluten-free 1-to-1 baking blend for the same delightful results!
What to Serve with Cherry Bars?
Indulge in the perfect dessert experience by pairing these cherry bars with delightful accompaniments that enhance their flavor and texture.
- Vanilla Ice Cream: A classic pairing that brings a creamy contrast to the tart sweetness of cherry bars.
- Whipped Cream: Light and fluffy, this topping adds an airy texture that complements the richness of the glaze beautifully.
- Chocolate Sauce: Drizzling this across each bar elevates the dessert to new heights, offering a luscious chocolatey note.
- Fresh Berries: Serve alongside raspberries or strawberries for a refreshing tartness that balances the sweetness of the bars.
For a cozy gathering, consider pairing these cherry bars with hot beverages.
- Coffee: The bold flavor of freshly brewed coffee cuts through the sweetness, making each bite even more satisfying.
- Herbal Tea: A calming chamomile or mint tea provides a soothing complement to the fruity richness of the bars.
- Sparkling Water: Add a slice of lemon or lime to elevate your hydration, refreshing your palate between bites.
Cherry Bars Variations & Substitutions
Feel free to explore these fun twists and substitutes to make the cherry bars your own!
-
Berry Delight: Swap cherry pie filling with blueberry or raspberry for a delicious berry variation that’s equally delightful.
-
Gluten-Free: Use a gluten-free 1-to-1 baking blend in place of whole wheat flour for a seamlessly delicious option for all!
-
Nut-Free: Omit the sliced almonds for a nut-free treat, or use pumpkin seeds or sunflower seeds for a fun twist.
-
Coconut Crunch: Replace almonds with unsweetened shredded coconut in the topping for a tropical, chewy texture that’ll transport you to paradise.
-
Zesty Flavor: Add a teaspoon of lemon or orange zest to the dough for a zesty brightness that perfectly complements the cherries.
-
Choco-Cherry: Fold in mini chocolate chips with the cherry filling for a rich and indulgent chocolate cherry fusion.
-
Cinnamon Spice: Sprinkle a bit of cinnamon into the dough for a warm, comforting flavor that pairs wonderfully with the sweet cherries.
-
Vegan-Friendly: Replace eggs with flax eggs and use coconut or almond milk in the glaze for a dairy-free, vegan version that everyone will love.
Make Ahead Options
These Cherry Bars are perfect for meal prep enthusiasts! You can prepare the dough up to 24 hours in advance by mixing the base and reserving a portion for the topping. Simply cover it tightly with plastic wrap and refrigerate. The cherry filling can also be assembled with the dough and refrigerated overnight, ensuring all flavors meld beautifully. Just remember to prevent browning by covering the exposed dough. When you’re ready to bake, spread the filling in the pan and crumble the reserved dough with almonds on top before popping it in the oven. This way, you can enjoy fresh, warm cherry bars with minimal effort, even on your busiest days!
How to Store and Freeze Cherry Bars
Fridge: Store your cherry bars in an airtight container in the refrigerator for up to 4 days. Make sure they are completely cooled before covering to avoid moisture buildup.
Freezer: For longer storage, individually wrap the cherry bars in plastic wrap and place them in a freezer-safe container. They can be frozen for up to 2 months.
Reheating: When you’re ready to enjoy your cherry bars, simply reheat them briefly in the microwave for about 15-20 seconds, or until warm. The moistness of the filling will bring them back to life!
Cherry Bars Recipe FAQs
How do I select ripe cherries for my cherry bars?
Absolutely! When choosing cherries, look for ones that are firm, plump, and shiny with a vibrant color. Avoid any with dark spots or wrinkles, as these may be overripe. The best cherries will have their stems attached and should feel heavy for their size.
How should I store my cherry bars after baking?
Very simply! Store your cherry bars in an airtight container in the refrigerator for up to 4 days. Make sure they’re completely cooled before covering them, as this prevents moisture from building up and makes them soggy.
Can I freeze cherry bars for later enjoyment?
Yes! To freeze your cherry bars, first, let them cool completely. Individually wrap each bar in plastic wrap and place them in a freezer-safe container or a resealable bag. They’ll stay fresh for up to 2 months! When you’re ready to enjoy them, reheat in the microwave for about 15-20 seconds to bring back that fresh-baked goodness.
What should I do if my cherry bars are too crumbly?
If you find that your cherry bars are crumbly after baking, it could be due to too much flour. Make sure to spoon and level your flour accurately for perfect texture. Also, allow the bars to cool completely before cutting; warm bars can crumble easily. If you notice they’re still not holding together, a touch of extra moisture, like a tablespoon of milk or butter, can sometimes help!
Can I use different fruits for these cherry bars?
Definitely! You can switch out the cherry pie filling for other fruit fillings such as blueberry, peach, or even a mix of berries to create your own spin on the recipe. Just ensure that the filling you choose complements the almond glaze for a delightful flavor profile.
Are cherry bars safe for those with nut allergies?
Not a problem! To adapt the recipe for those with nut allergies, simply omit the sliced almonds from the topping. You can also consider using a nut-free sugar alternative in the glaze. These adjustments allow everyone to enjoy these delicious cherry bars without worry!
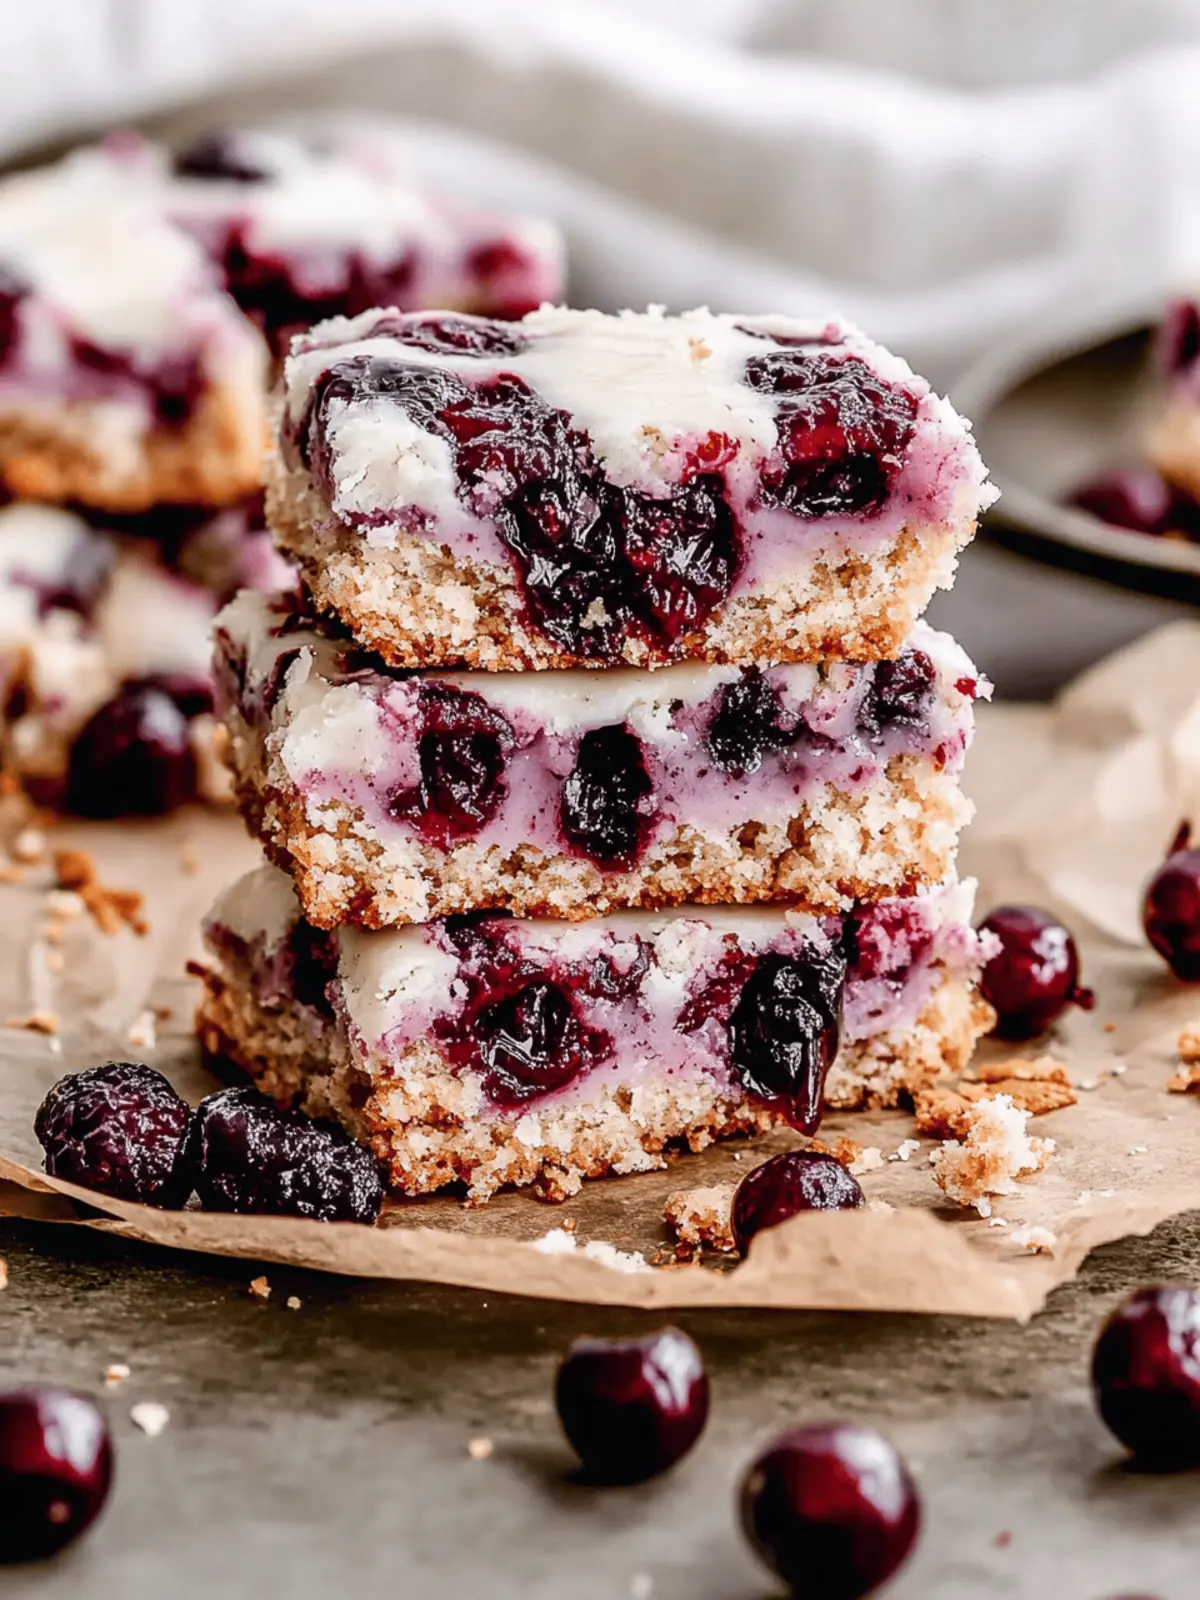
Delicious Cherry Bars with Sweet Almond Glaze Surprise
Ingredients
Equipment
Method
- Preheat the oven to 350°F (175°C) and prepare your baking pan with cooking spray and parchment paper.
- Cream the softened butter and granulated sugar together until light and fluffy, about 2 minutes.
- Add the eggs one at a time, mixing in the vanilla extract.
- Combine the baking powder and kosher salt with the butter mixture, then gradually incorporate the whole wheat pastry flour until just blended.
- Reserve ½ cup of the dough, then press the remaining dough into the bottom of your prepared pan.
- Spread the cherry pie filling evenly over the dough layer.
- Mix the reserved dough with the sliced almonds and dot it over the cherry filling.
- Bake in the preheated oven for 50-55 minutes, until golden brown.
- Cool the bars completely on a wire rack before drizzling with the glaze made from powdered sugar, almond extract, and milk.

