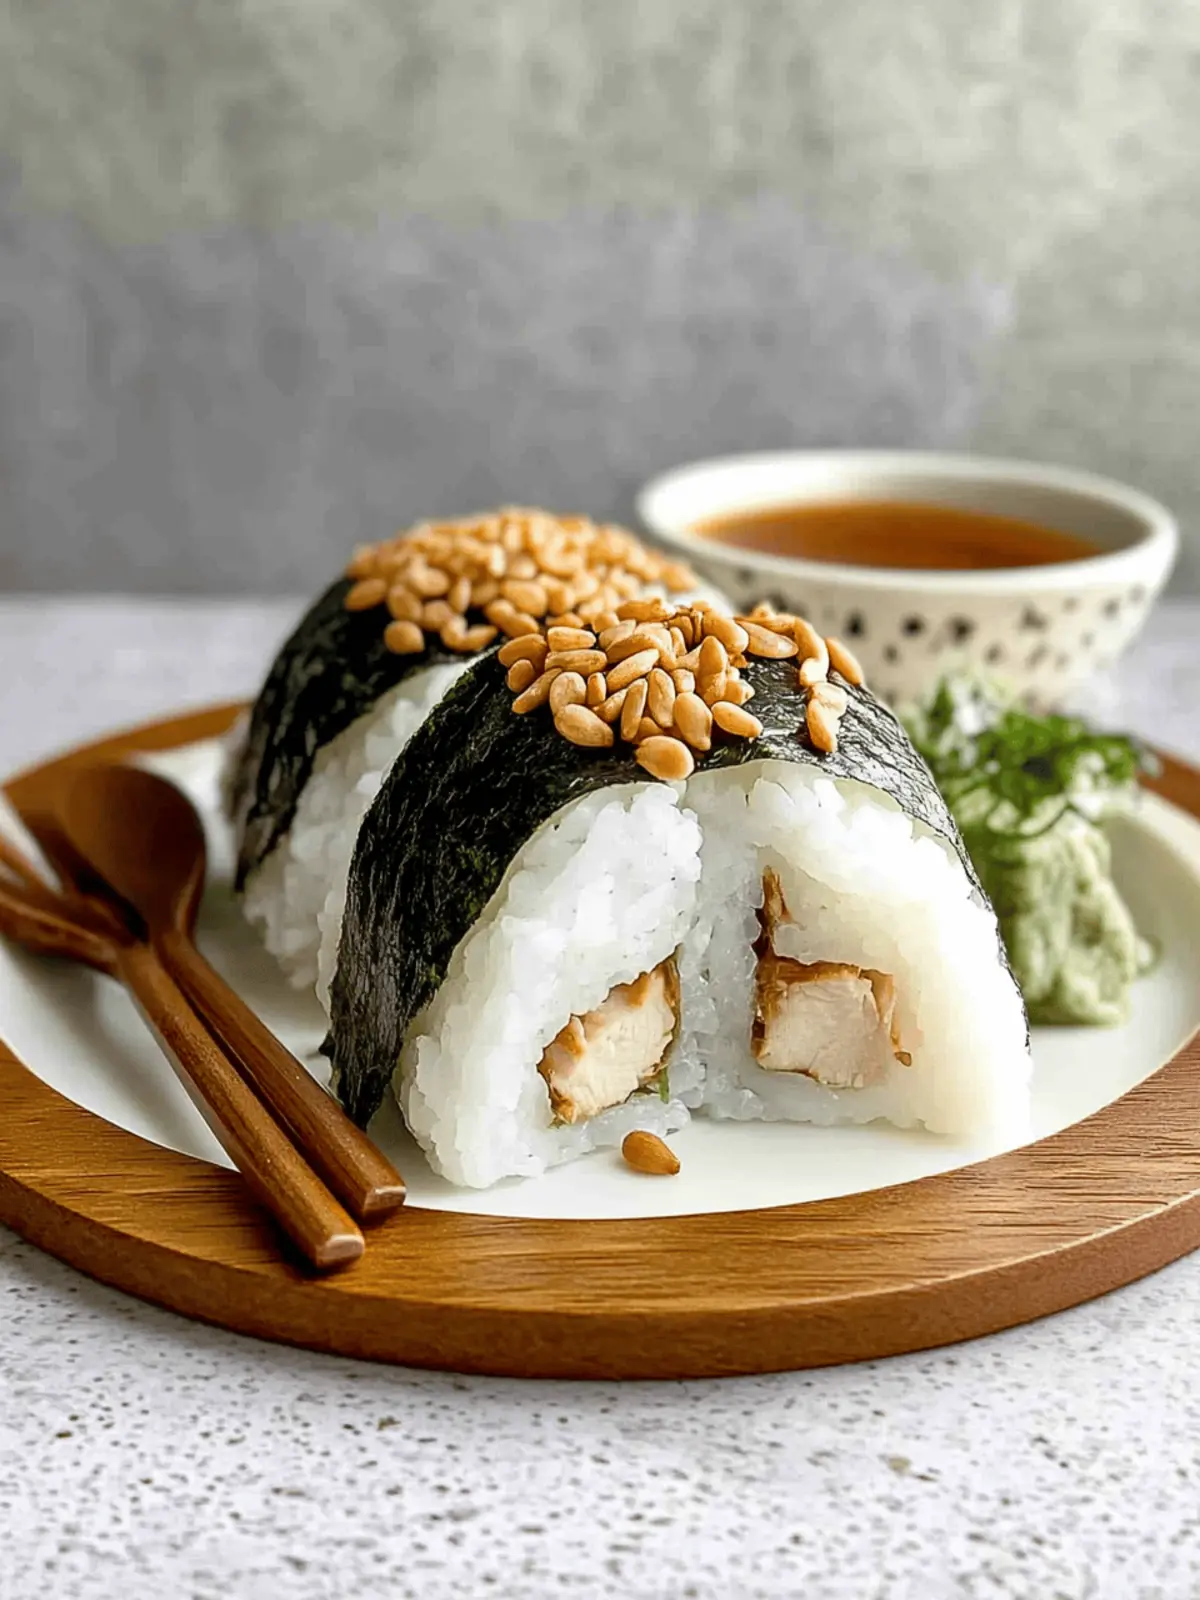
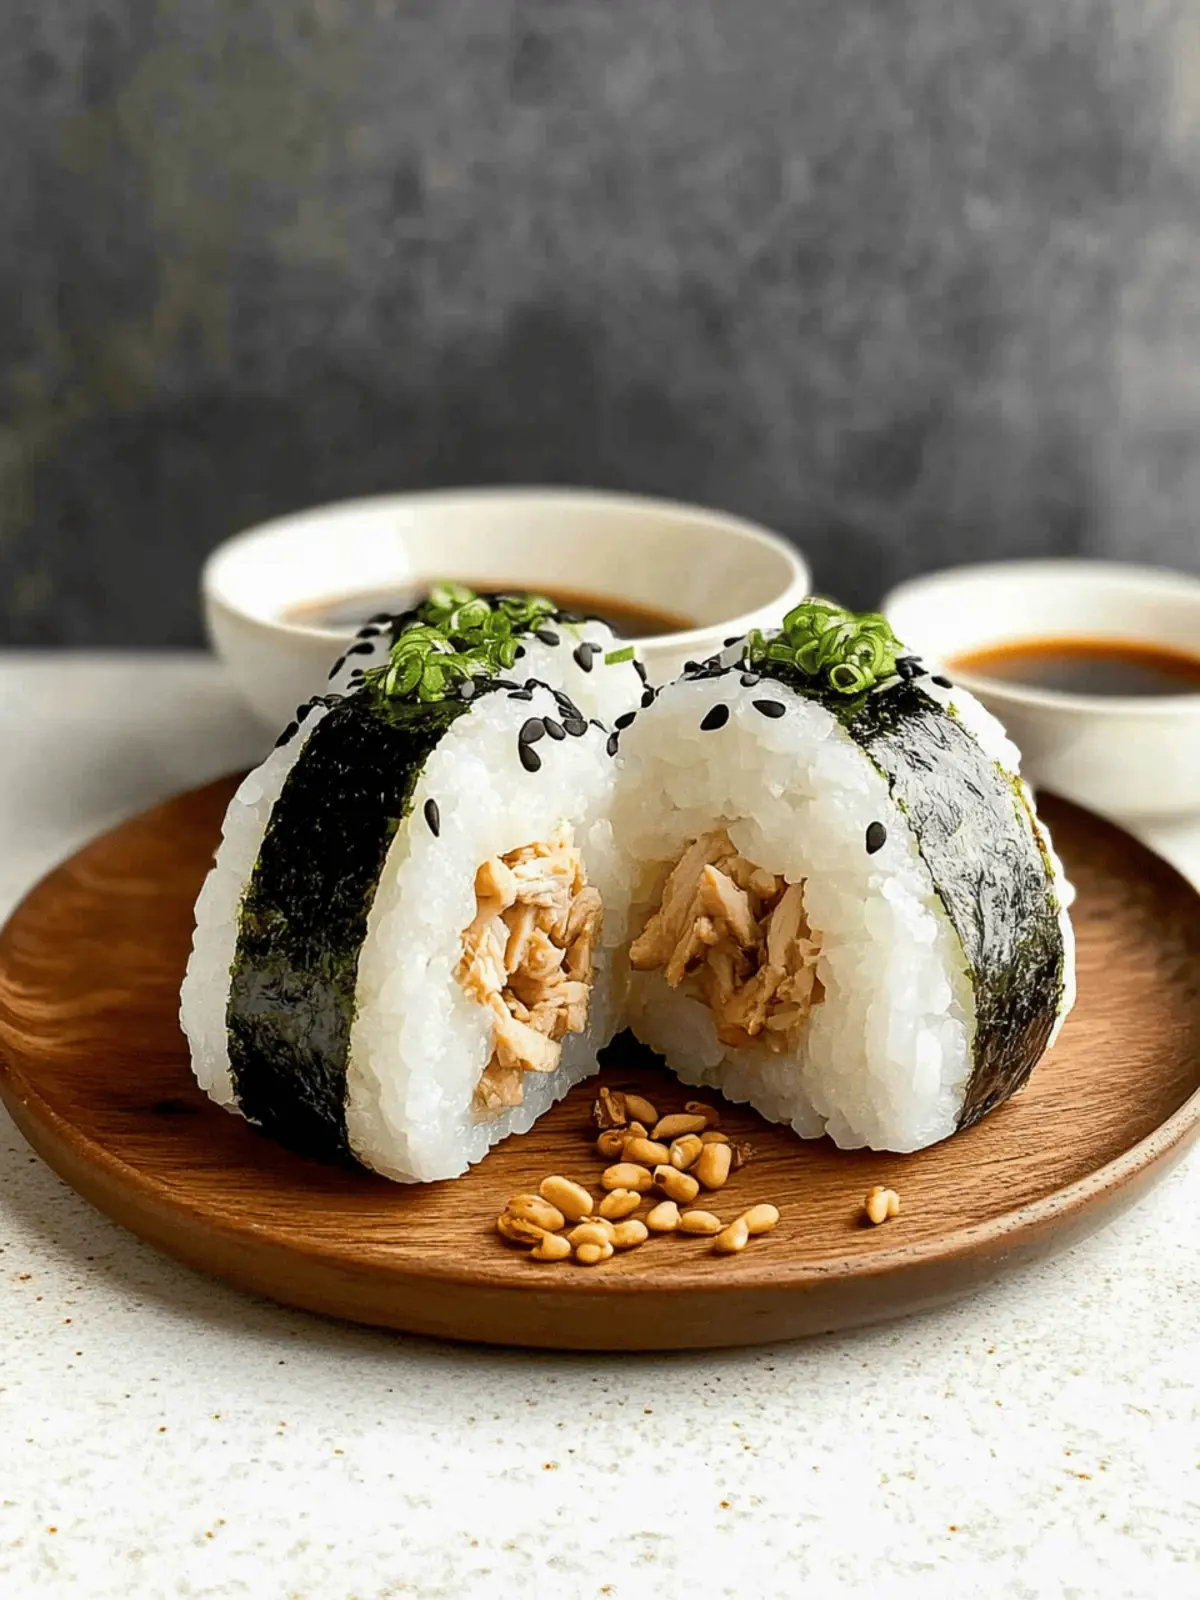
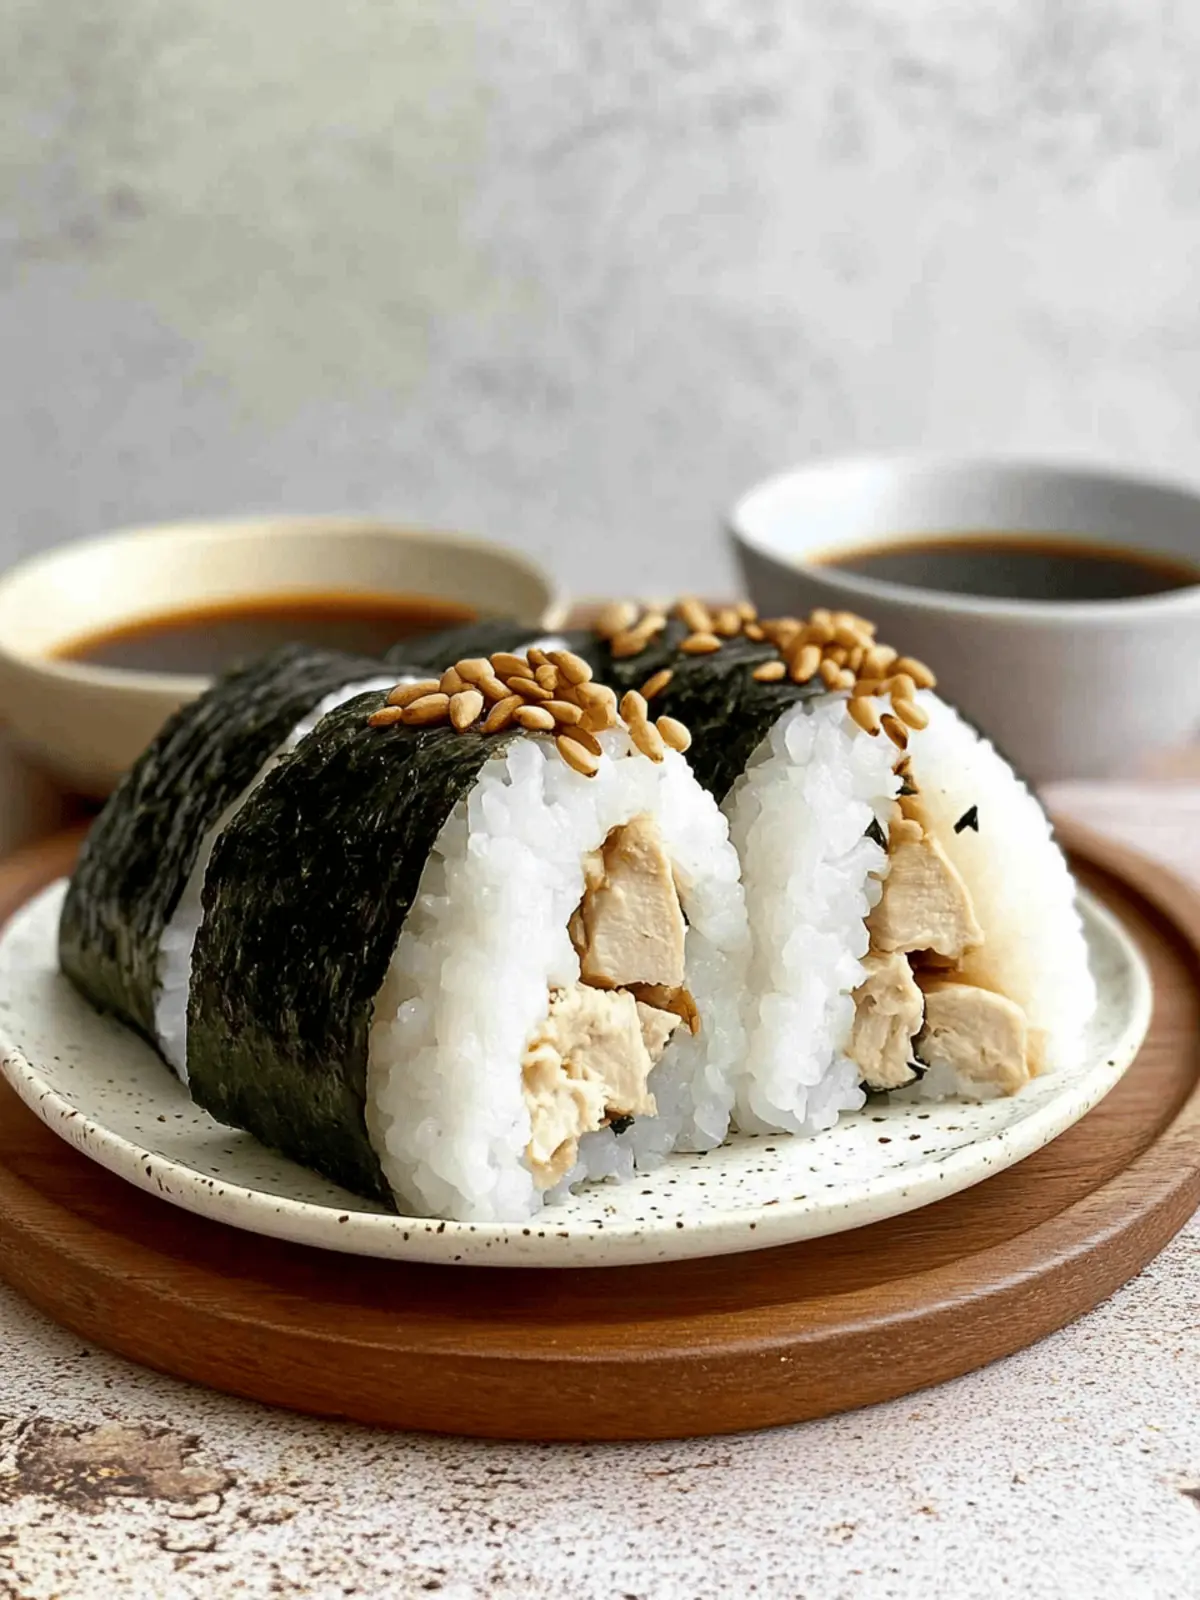
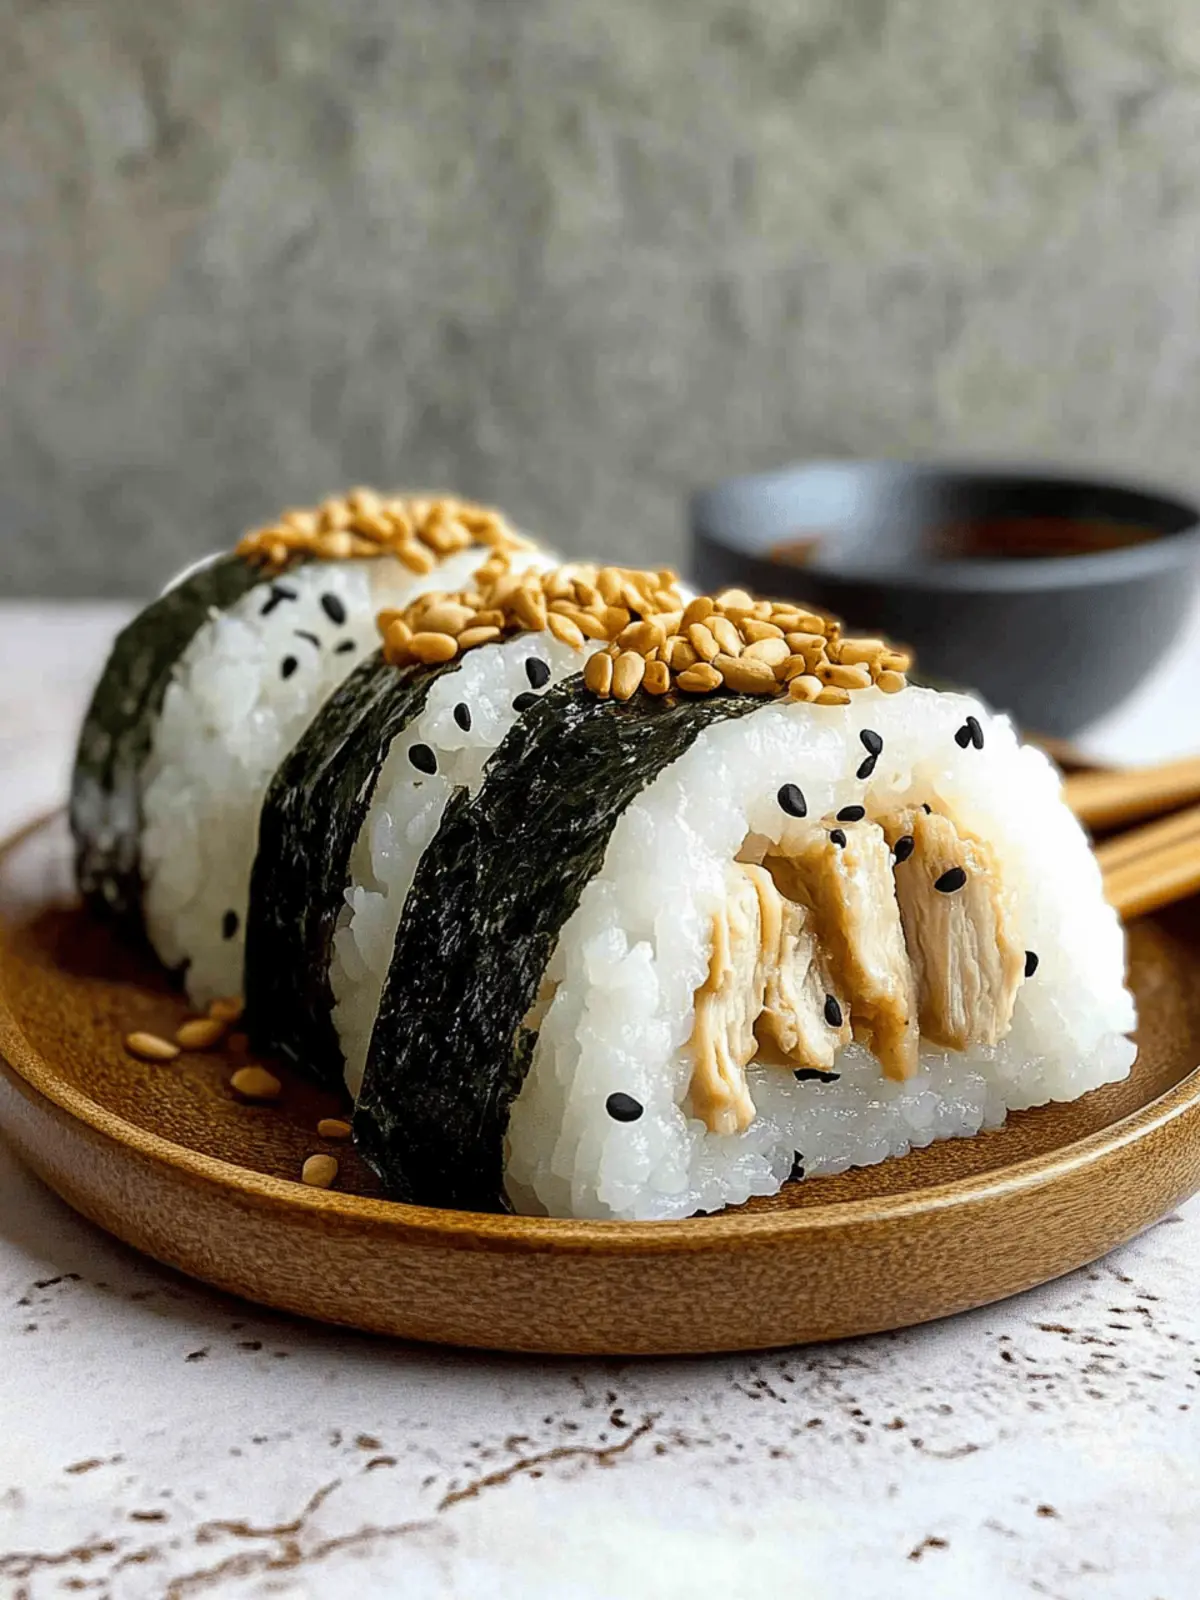
As the sun sets and the kitchen fills with the warm, inviting scent of teriyaki chicken, I can’t help but feel a wave of nostalgia wash over me. Chicken Onigiri has become a staple in my home—perfect for those busy days when I crave something comforting yet quick to prepare. Imagine biting into a beautifully shaped rice triangle, revealing a tender, sweet-and-savory filling that takes you straight to the bustling streets of Japan, all without leaving your house.
Whether you’re packing lunch for work or whipping up a quick snack, this easy recipe delivers delightful flavors and versatile options. Plus, it can seamlessly adapt to your dietary preferences! So, if you’re looking to break free from the monotony of fast food and explore a captivating culinary experience, join me in making these splendid Chicken Onigiri filled with teriyaki chicken. Ready your taste buds for a treat that’s as portable as it is delicious!
Why is Chicken Onigiri a must-try?
Quick and Easy: This Chicken Onigiri recipe simplifies Japanese cuisine into an effortless experience, perfect for beginners.
Flavor Explosion: The sweet and savory teriyaki chicken filling brings a delightful burst of taste in every bite.
Portable Snack: Whether for lunch or a picnic, these rice triangles are easy to pack and eat on the go.
Versatile Options: You can easily switch up the filling with various proteins or even make it vegetarian!
Crowd-Pleaser: These onigiri are sure to impress family and friends, becoming a favorite at gatherings.
Plus, for a fresh side, pair these beauties with a delicious dip of soy sauce or pickled ginger!
Chicken Onigiri Ingredients
For the Rice
• Cooked Sushi Rice – Essential for the signature sticky texture; ensure you’re using short-grain rice.
• Salt – Enhances the flavor of the rice; fine salt works best for even distribution.
• Furikake (optional) – Sprinkle for an umami boost; it’s a fun addition if you’re in the mood for extra flavor.
For the Teriyaki Chicken Filling
• Boneless Skinless Chicken (drumsticks or thighs) – Provides a hearty filling; you can use ground chicken or tofu as alternatives.
• Soy Sauce – Adds depth and saltiness; opt for low-sodium if you’re watching your salt intake.
• Sake or Water – Used to tenderize chicken; water serves as a simpler choice.
• Baking Soda – Helps tenderize the meat for the perfect texture.
• Cornstarch – Creates a crispy coating when cooked, elevating your chicken onigiri.
• Mirin – Imparts a sweet and complex flavor to your teriyaki sauce.
• Brown Sugar – Balances the savory flavor of the sauce; make sure to pack it firmly for best results.
• Oil – Necessary for cooking the chicken until golden and delicious.
• Minced Garlic – Adds an amazing aroma and flavor to the dish.
For Assembly
• Nori – Wraps the onigiri, providing a delightful savory contrast; cut into strips for easy handling.
Get ready to indulge your taste buds with these savory Chicken Onigiri—an easy and delightful culinary adventure awaits you!
How to Make Chicken Onigiri
-
Prepare Rice: Begin by cooking sushi rice in a rice cooker according to the manufacturer’s instructions. Once cooked, mix in fine salt and furikake (if you’re using it) to achieve that desired flavor.
-
Marinate Chicken: Cut your boneless skinless chicken into small pieces. In a bowl, mix it with soy sauce, sake, baking soda, and cornstarch. Let it marinate in the refrigerator for about 30 minutes; this step ensures your chicken is tender and flavorful.
-
Make Teriyaki Sauce: In a separate bowl, combine soy sauce, mirin, and brown sugar. Whisk until well blended, setting your rich teriyaki sauce aside for later use.
-
Cook Chicken: Heat a drizzle of oil in a nonstick pan over medium-high heat. Add the marinated chicken, cooking for 2-3 minutes until it’s cooked through and no longer pink.
-
Add Flavor: After the chicken is fully cooked, reduce the heat and add minced garlic. Stir for about 30 seconds, then pour in the prepared teriyaki sauce. Cook until the sauce thickens and clings to the chicken.
-
Shape Onigiri: With wet hands (to prevent sticking), scoop about ⅓ cup of rice. Create a small well in the center, fill it with the teriyaki chicken, then top it off with another ⅓ cup of rice. Shape into a triangle and wrap with a strip of nori.
Optional: Serve with soy sauce or pickled ginger for an extra burst of flavor!
Exact quantities are listed in the recipe card below.

Make Ahead Options
These Chicken Onigiri are perfect for meal prep enthusiasts! You can prepare the sushi rice and teriyaki chicken filling up to 24 hours in advance, allowing you to save precious time on busy days. Simply cook the sushi rice according to instructions, then store it in an airtight container in the refrigerator. For the chicken, marinate it as directed, then cook and let it cool completely before refrigerating. When you’re ready to serve, just allow the rice to come to room temperature and assemble your onigiri by shaping them with the prepared filling. This method ensures that your Chicken Onigiri taste just as delicious, making them a convenient, mouthwatering option anytime!
How to Store and Freeze Chicken Onigiri
Fridge: Keep your Chicken Onigiri wrapped in plastic or airtight containers for up to 2 days. This preserves freshness while preventing them from drying out.
Freezer: For longer storage, freeze your onigiri in a single layer on a baking sheet, then transfer to freezer bags for up to a month. Thaw in the fridge before reheating.
Reheating: To enjoy warm onigiri, gently heat in the microwave until warmed through, about 30-60 seconds, making sure to moisten with a wet paper towel to retain moisture.
Freshness Tip: While it’s best to enjoy Chicken Onigiri fresh, when stored properly, you can still savor their delicious flavor even a day or two later!
Chicken Onigiri Variations
Customize your Chicken Onigiri with these creative twists, inviting a whole new array of flavors and textures to this delightful snack.
-
Vegetarian: Substitute chicken with grilled tofu or sautéed mushrooms for a hearty, meatless option. Both options absorb flavors beautifully, allowing for a satisfying bite that won’t leave you missing the meat.
-
Spicy Kick: Add sriracha or a sprinkle of chili flakes to your teriyaki sauce for an exciting heat. This fiery twist will bring a whole new level of excitement to your taste buds!
-
Tropical Twist: Use mango or pineapple chunks along with the chicken for a sweet and tangy surprise. The juicy fruit adds a refreshing flavor that dances on your palate!
-
Extra Crunch: Incorporate chopped water chestnuts into the filling for a delightful crunch. This unexpected texture elevates your onigiri, giving every bite a satisfying little pop.
-
Herb Infusion: Mix in fresh chopped herbs like cilantro or green onions to the rice for a flavorful burst. The added freshness transforms this onigiri into a bright, aromatic experience.
-
Sesame Royale: Top your onigiri with toasted sesame seeds for added nutty flavor and texture. This simple touch enhances your creation, making it not just tasty but visually appealing as well!
-
Pickled Vegetable Surprise: Add a small amount of pickled ginger or daikon into the filling for a tangy zing. This addition strikes a beautiful balance with the sweetness of the teriyaki chicken.
-
Cheesy Delight: For a unique twist, fold in a little cream cheese or mozzarella with the chicken. This melty addition creates an indulgent, creamy filling that’s utterly comforting.
Expert Tips for Chicken Onigiri
-
Rice Consistency: Ensure your sushi rice is cooked a bit stickier, using slightly more water for the right texture. This helps keep your Chicken Onigiri from falling apart.
-
Marination Time: Don’t rush the marination process for the chicken. At least 30 minutes allows the flavors to truly penetrate the meat, enhancing the dish’s overall taste.
-
Watch Heat Levels: When cooking the chicken and adding garlic, be careful not to burn it. Lower the heat once the chicken is cooked through to prevent scorching the flavorful sauce.
-
Shaping Technique: Keep your hands damp while forming the rice triangles; if they stick, consider using plastic wrap to mold them into shape, ensuring a neat presentation.
-
Serving Fresh: For the best flavor, enjoy your Chicken Onigiri fresh. If refrigerated, eat within 2 days, and consider reheating the filling to enhance its taste before assembly.
What to Serve with Chicken Onigiri?
Elevate your Chicken Onigiri experience by pairing it with delicious accompaniments that enhance its delightful flavors.
-
Soy Sauce: A classic dip that adds a savory depth to the rice triangles, complementing the teriyaki chicken perfectly. A little extra drizzle can take your taste buds to the next level!
-
Pickled Ginger: Bright and tangy, it serves as a refreshing palate cleanser between bites, balancing the rich flavors of the teriyaki chicken.
-
Sesame Edamame: These lightly salted edamame pods offer a delightful crunch and nutty flavor that contrasts beautifully with the soft rice.
-
Seaweed Salad: With its sweet and tangy dressing, this salad adds a beautiful, fresh touch, echoing the nori in the onigiri.
-
Japanese Miso Soup: Warm and comforting, miso soup complements the umami flavors of the chicken, making it a wholesome pairing for this quick meal.
-
Sushi Rolls: Create a fun meal by serving with simple sushi rolls, adding variety and more fresh flavors to your dining experience. Opt for cucumber or avocado rolls for a lighter touch.
-
Green Tea: Sip on a warm cup of green tea to cleanse your palate, as its mild bitterness pairs beautifully with the savory and sweet notes of your Chicken Onigiri.
-
Fresh Fruits: A side of sliced fruit, like mango or kiwi, provides a sweet contrast, adding a refreshing finish to your meal.
By choosing any of these delightful options, you can create a satisfying, nutritious meal that celebrates every bite of your Chicken Onigiri!

Chicken Onigiri Recipe FAQs
How do I choose the right rice for Chicken Onigiri?
Absolutely! The best choice for Chicken Onigiri is short-grain sushi rice, known for its stickiness. This ensures your rice triangles hold together well. When cooking, use slightly more water than usual—roughly 15% more than you would for long-grain rice—to achieve that perfect texture.
What is the best way to store Chicken Onigiri?
To keep your Chicken Onigiri fresh, wrap them tightly in plastic wrap or store in an airtight container in the refrigerator for up to 2 days. This will help maintain their moisture and flavor without drying out. If you’re planning to enjoy them later, I recommend reheating the filling before wrapping in fresh rice for that just-made taste!
Can I freeze Chicken Onigiri?
Yes, you can! To freeze your Chicken Onigiri, first, place them in a single layer on a baking sheet and pop them into the freezer until solid. Then transfer your frozen onigiri to freezer bags for up to a month. When you’re ready to enjoy, simply thaw them in the refrigerator overnight and reheat gently in the microwave for about 30-60 seconds, using a wet paper towel to keep them moist.
What should I do if my rice falls apart while making onigiri?
Very! If your rice is falling apart, it may be too dry. Ensure you used enough water while cooking, and consider letting it steam a bit longer after cooking to increase humidity. Additionally, when shaping, keep your hands damp to help mold the rice without sticking.
Are Chicken Onigiri safe for pets or those with allergies?
It’s best to avoid giving Chicken Onigiri to pets, as ingredients like garlic can be harmful to them. When it comes to allergies, always check ingredient labels; for instance, soy sauce can contain gluten. If you’re serving to someone with allergies, substituting with tamari or even coconut aminos can be a safe alternative without compromising on flavor.

Savory Chicken Onigiri: Your New Favorite Portable Snack
Ingredients
Equipment
Method
- Prepare rice by cooking sushi rice in a rice cooker according to the manufacturer's instructions. Once cooked, mix in fine salt and furikake (if using).
- Cut the boneless skinless chicken into small pieces. In a bowl, mix with soy sauce, sake, baking soda, and cornstarch. Marinate in the refrigerator for 30 minutes.
- In a separate bowl, combine soy sauce, mirin, and brown sugar. Whisk until well blended, then set aside.
- Heat oil in a nonstick pan over medium-high heat. Add marinated chicken and cook for 2-3 minutes until no longer pink.
- Reduce heat, add minced garlic, stir for 30 seconds, and pour in the teriyaki sauce. Cook until sauce thickens and clings to chicken.
- With wet hands, scoop about ⅓ cup of rice, create a small well, fill with teriyaki chicken, and top with another ⅓ cup of rice. Shape into a triangle and wrap with nori.


