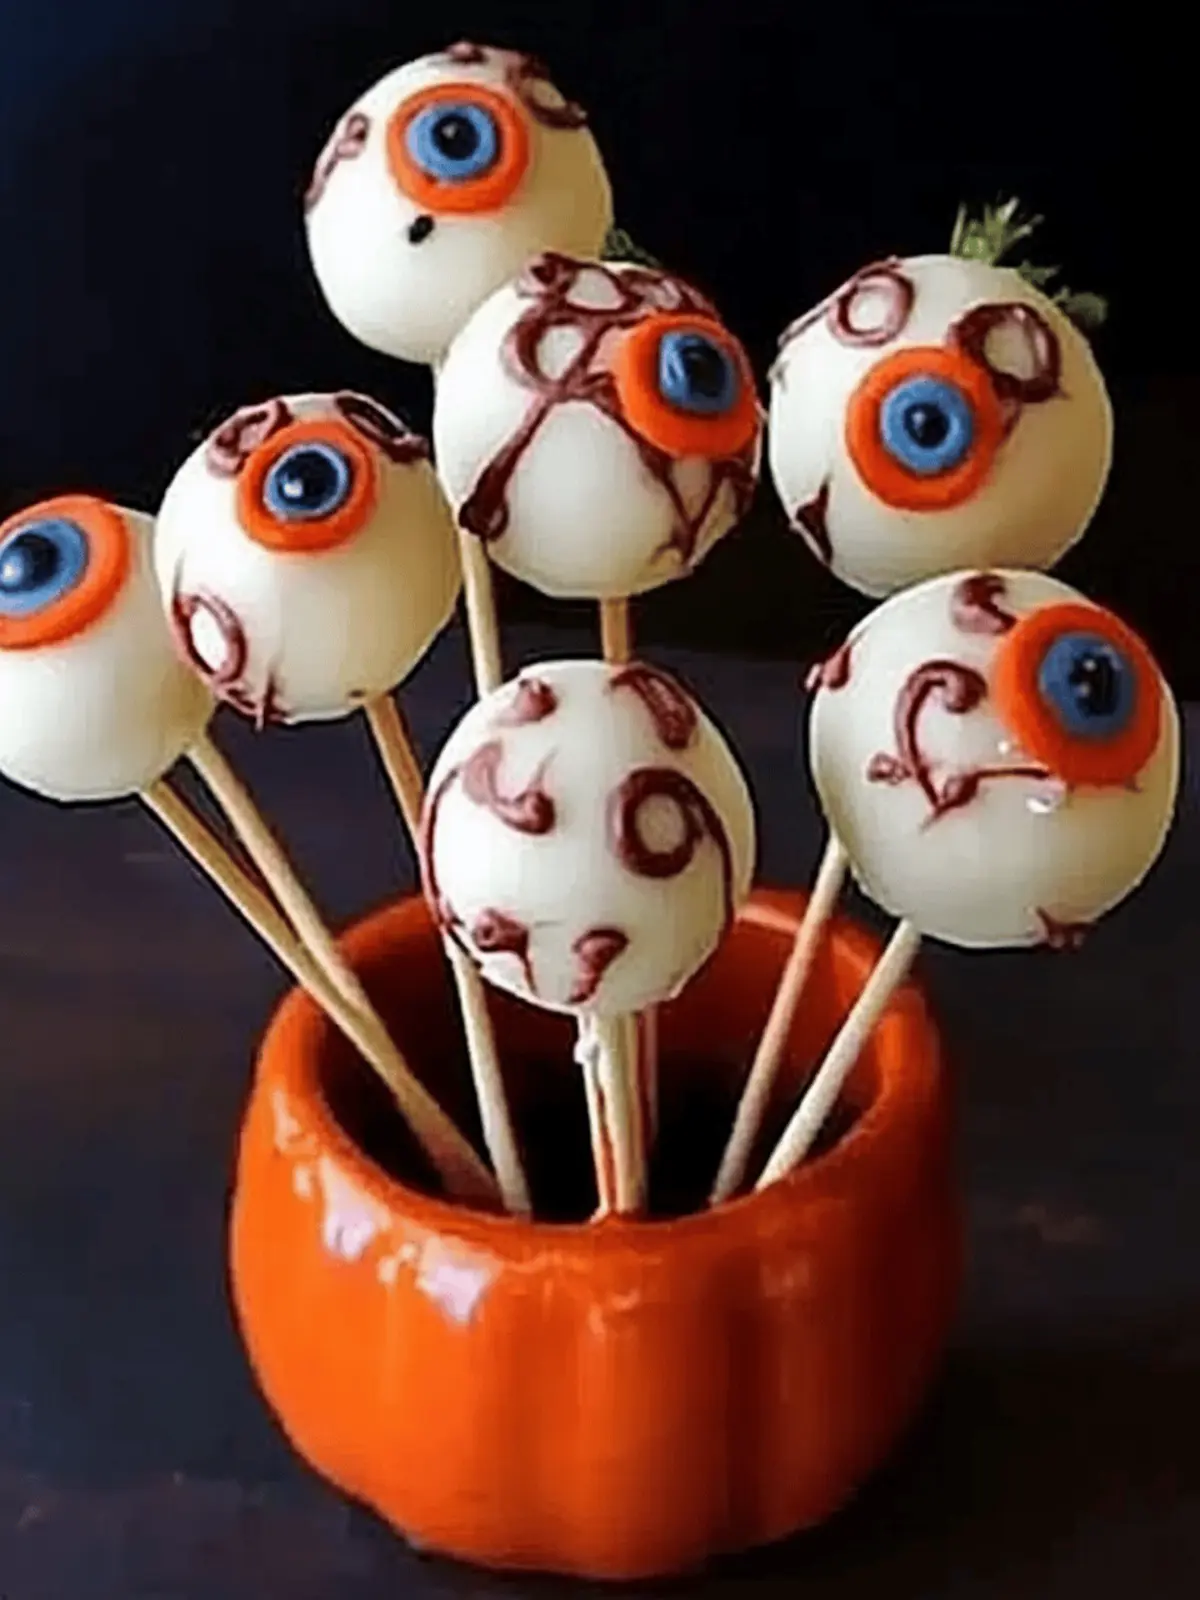
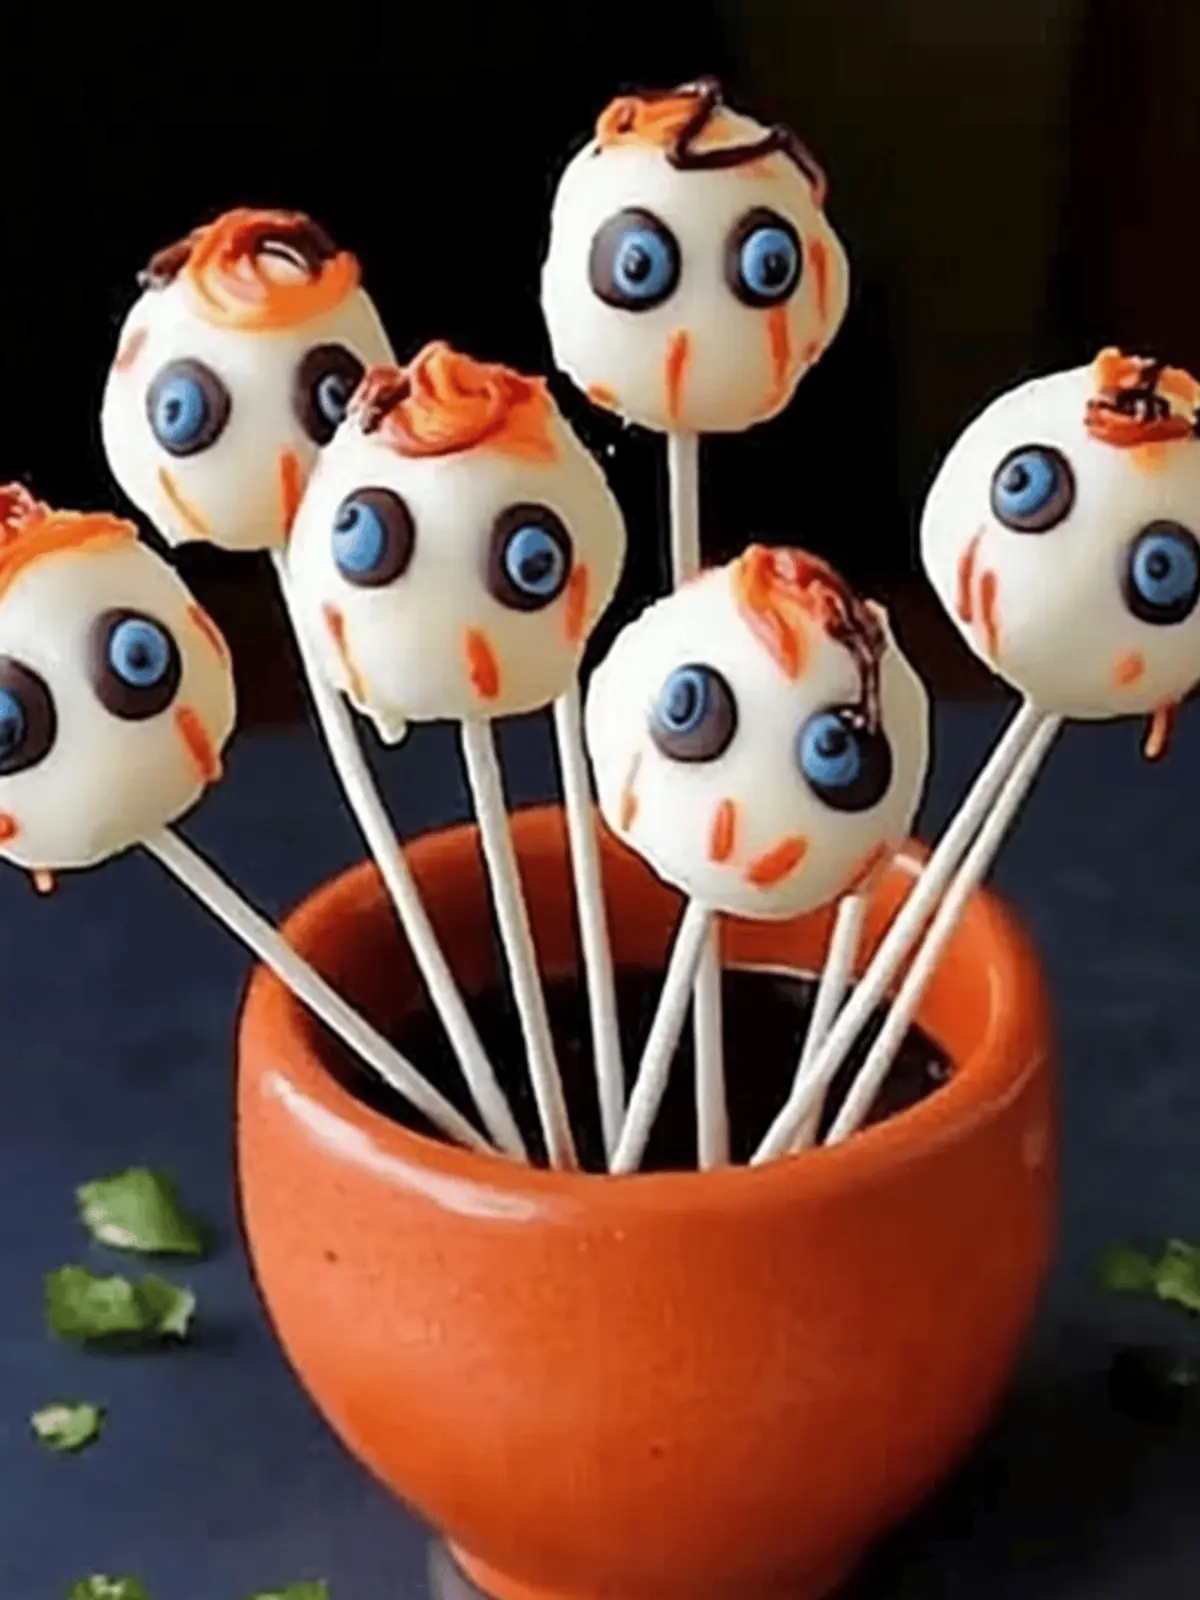
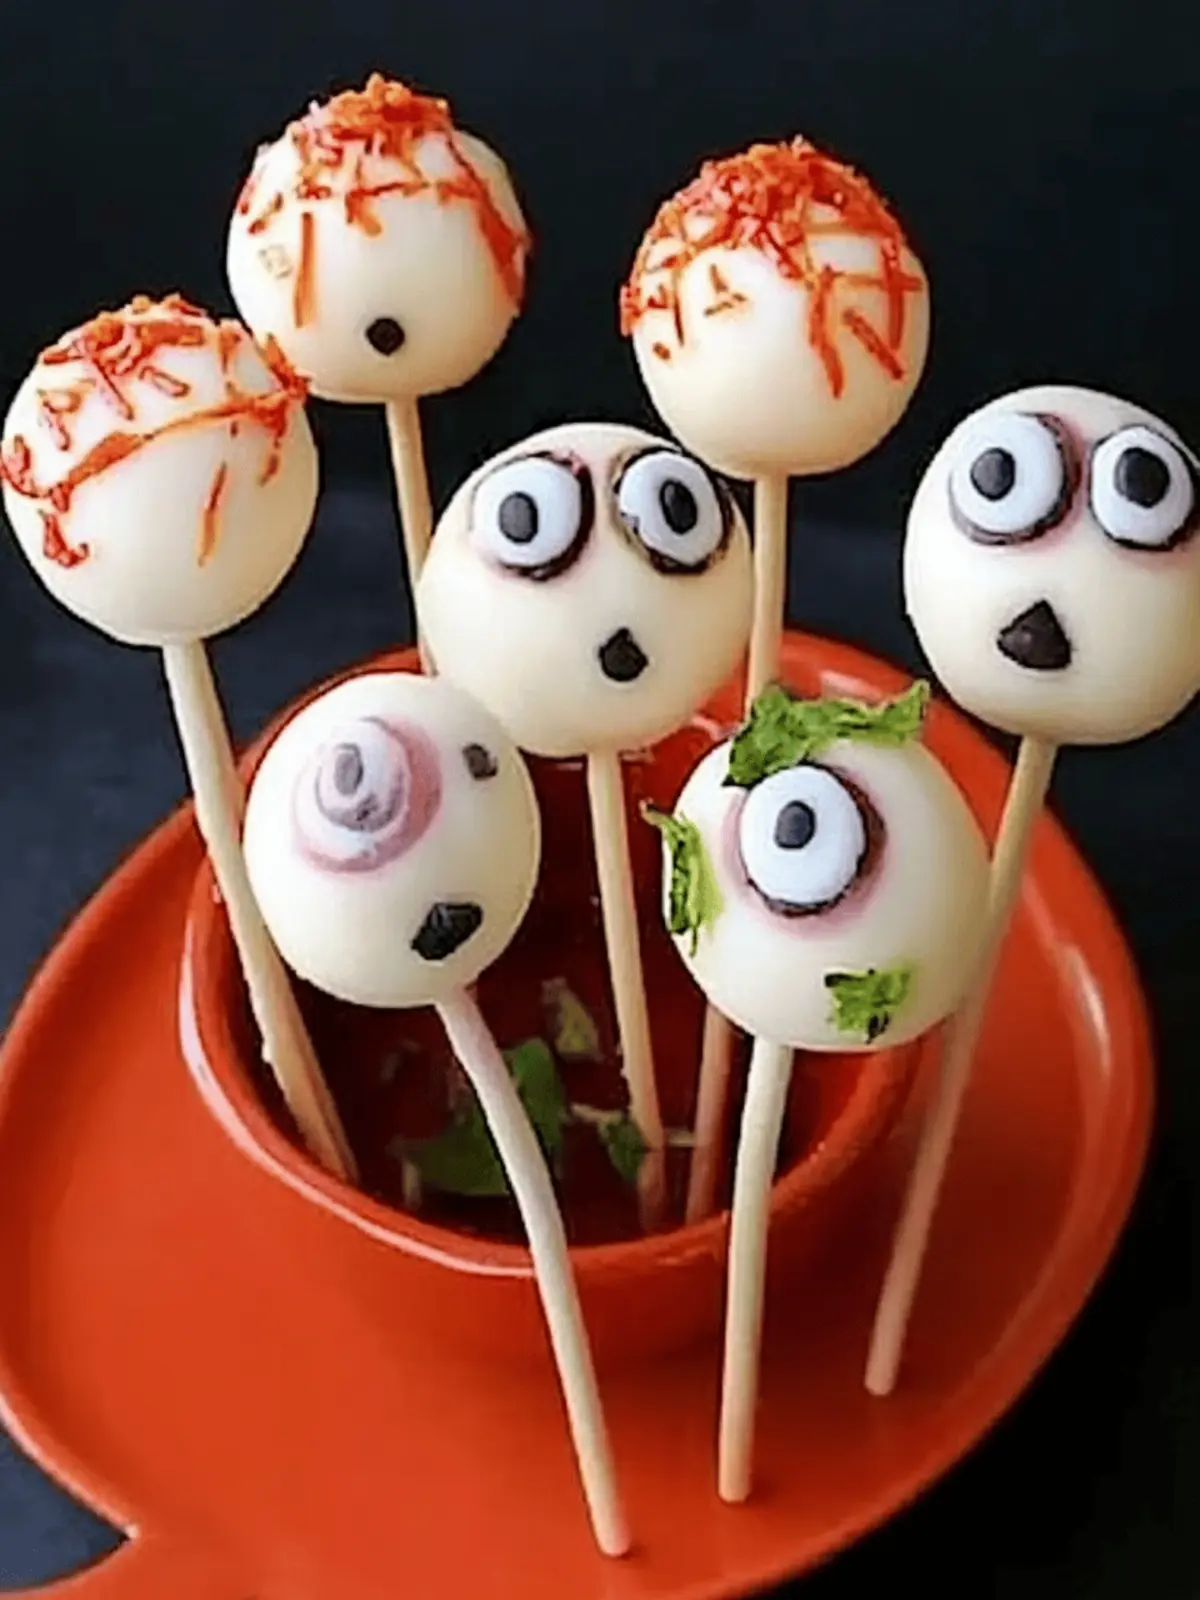
As the leaves turn and the air grows crisp, Halloween whispers its way into our kitchens, inspiring more than just spooky decorations. This year, instead of the usual treats, why not summon some creativity with these Eerie Eyeball Halloween Cake Pops? Imagine the delight on your little ones’ faces as they help roll, dip, and decorate these fun, chocolatey bites. Not only are they delicious, but they also offer a perfect opportunity for a kitchen adventure that doubles as a festive art project.
With a mix of rich chocolate, silly sugar-coated eyeballs, and a touch of white chocolate magic, these cake pops promise to be a hit at any Halloween gathering. So gather your mini ghouls and goblins, roll up those sleeves, and let’s create some hauntingly good treats that taste as delightful as they look!
Why are Halloween cake pops a must-try?
Deliciously Fun: These Halloween cake pops bring a world of flavor with the rich chocolate blend and creamy coating, making them irresistible to kids and adults alike.
Creative Activity: Turn baking into a delightful family bonding experience—your kids will love decorating their own spooky creations!
Versatile Flavors: Feel free to substitute ingredients, like using vanilla cookies or dark chocolate, to customize them to your taste.
Perfect for Parties: These treats double as both dessert and decoration, adding a festive touch to any Halloween gathering. Ready to elevate your spooky menu? Check out our expert tips and warnings for making these treats even easier!
Halloween Cake Pops Ingredients
For the Cake Mixture
- Madeira Cake – Provides the base and structure. Can substitute with sponge cake or brownies for different flavors.
- Chocolate Sandwich Cookies – Adds a chocolaty flavor and texture. Any chocolate cookie can be used.
- Milk Chocolate (100g) – Binds the cake mixture together for a sweet flavor. Use dark chocolate for a richer taste.
For Coating and Decoration
- White Chocolate (200g) – Coating that creates the eyeball effect. Candy melts can also work as a substitute.
- Sugar-Coated Chocolate Beans – Used for decoration to resemble eyeballs. Can use M&M’s or similar candy.
For Assembly
- Wooden Skewers (10) – Sticks used to hold the cake pops. Ensure they are sturdy enough to hold the weight.
- Pumpkin or Butternut Squash – Used to hold the pops upright for presentation. Can use a Styrofoam block if pumpkins are not available.
How to Make Halloween Cake Pops
-
Prepare Cake Mixture: Break the Madeira cake and chocolate cookies into a food processor, then add melted milk chocolate and blend until fully combined and resembles fine crumbs.
-
Shape Cake Balls: Transfer the mixture to a bowl, roll it into about 10 walnut-sized balls, and chill in the refrigerator for around 2 hours until firm and set.
-
Coat and Decorate: Insert a wooden skewer into each cake ball, dip in melted white chocolate, and stand the pops upright in a pumpkin. Before the chocolate sets, gently press a sugar-coated chocolate bean into each pop for that eerie eyeball effect.
-
Final Touch: Once the chocolate has fully hardened, use icing pens to create pupils and add some fun red veins to enhance the spooky look!
Optional: Add a sprinkle of edible glitter for a magical finishing touch.
Exact quantities are listed in the recipe card below.
Make Ahead Options
These Halloween cake pops are perfect for busy home cooks looking to save time while still creating delightful treats! You can prepare the cake mixture up to 24 hours in advance; simply blend the Madeira cake and chocolate cookies, then roll into balls and chill. Once shaped, the cake balls can be stored in an airtight container in the refrigerator for up to 3 days without losing their deliciousness. When you’re ready to serve, just insert the skewers, coat with melted white chocolate, and add the sugar-coated chocolate beans for decoration. This way, you’ll have spooky treats ready in no time, allowing for a stress-free celebration!
Expert Tips for Halloween Cake Pops
- Firm Cake Balls: Ensure the cake mixture is firm before adding skewers; this helps prevent them from crumbling apart during decoration.
- Chill Thoroughly: Let the shaped cake balls chill well for at least 2 hours; this allows the melted chocolate to adhere better during coating.
- Smooth Coating: Use a small spoon for dipping to achieve a smooth layer of white chocolate; it prevents excess drips and adds to the visual appeal of your Halloween cake pops.
- Creative Decorations: Encourage kids to personalize each pop with different icing colors for the pupils or edible glitter to make each treat uniquely spooky.
- Sturdy Support: When placing the pops in pumpkins, make sure they fit snugly to hold them upright; alternatively, use a Styrofoam block for a more stable option.
What to Serve with Halloween Cake Pops?
Create a delightful Halloween feast that pairs beautifully with these spooky treats, making your gathering extra festive!
- Hot Chocolate Bar: Rich, creamy hot chocolate topped with whipped cream and sprinkles is a perfect sweet complement to the cake pops and warms everyone up.
- Caramel Apples: Crisp apples dipped in gooey caramel evoke the fall season and offer a crunchy contrast to the soft texture of cake pops. Kids will love these fun, bite-sized treats!
- Pumpkin Soup: A velvety pumpkin soup served in mini pumpkins adds warmth and depth to your table—it’s autumn on a spoon that balances sweet and savory perfectly.
- Ghostly Mini Pizzas: Personal-sized pizzas decorated with mozzarella ghosts and olives are a playful addition, engaging kids while satisfying their hunger.
- Spooky Fruit Platter: Arrange seasonal fruits like oranges, apples, and grapes to create ghost-shaped bites, adds a fresh, vibrant element alongside the rich cake pops.
- Halloween-Themed Punch: A refreshing fruit punch, perhaps with floating eyeball ice cubes (made from blueberries or lychee), allows guests to sip something festive and delicious!
- Chocolate Dipped Pretzels: Crunchy pretzels dipped in chocolate and adorned with festive sprinkles create a sweet and salty snack—the perfect party nibble that pairs wonderfully with cake pops.
Storage Tips for Halloween Cake Pops
-
Room Temperature: Keep your Halloween cake pops at room temperature for up to 2 days in an airtight container to maintain their delightful texture.
-
Fridge: For longer freshness, store cake pops in the fridge for up to 5 days. Ensure they are in a sealed container to avoid drying out.
-
Freezer: Store chilled cake pops in the freezer for up to 2 months. Wrap each pop individually in plastic wrap and then place them in a freezer-safe bag.
-
Reheating: If you want to enjoy a chilled pop, let them sit at room temperature for about 15 minutes before serving. Enjoy the sweet treat with a spooky flair!
Halloween Cake Pops Variations
Feel free to add your personal touch to these spooky delights and make them even more fun!
-
Vanilla Cookie Base: Substitute chocolate sandwich cookies with vanilla cookies for a lighter, unique flavor twist.
Transforming the base can create an exciting flavor contrast that children will love exploring. -
Dark Chocolate Delight: Use dark chocolate instead of milk chocolate to enhance richness.
The deeper flavor profile adds a sophisticated touch to these playful treats, perfect for adult Halloween gatherings. -
Candy-Coated Fun: Instead of sugar-coated chocolate beans, use gummy eyeballs or candy corn for varied decorations.
Letting kids pick their favorite candies can make the decorating part of the process even more exciting! -
Nutty Surprise: Mix in crushed nuts or nut butter into the cake mixture for added texture and flavor.
This variation not only debuts a nutty crunch but also provides a delightful taste contrast. -
Festive Sprinkles: Top the chocolate coating with festive Halloween-themed sprinkles for extra color and fun.
Bright, colorful sprinkles can transform these cake pops into little masterpieces that grab attention at any party! -
Spicy Twist: Add a pinch of cayenne pepper to the chocolate mix for a surprising hint of heat.
This unexpected flavor can invigorate your taste buds and impress those who love a bit of spice in their sweets. -
Fruit Fusion: Incorporate mashed banana or pureed pumpkin into the cake mixture for a healthier, autumnal twist.
Adding fruit not only enhances the flavor but also ups the nutritional value—perfect for guilt-free indulgence! -
Coconut Coating: Instead of white chocolate, use melted coconut oil mixed with shredded coconut for a tropical spin.
This refreshing twist adds a unique flavor and chewy texture, whisking you away to a sunny paradise in the middle of Halloween!
Eerie Eyeball Halloween Cake Pops Recipe FAQs
How do I choose the right cake for these Halloween cake pops?
Absolutely! When selecting your Madeira cake, aim for one that’s moist and fresh to ensure great flavor and texture. If it’s a bit stale, you can revive it by adding a touch of milk when blending. Alternatively, you can substitute it with a spongier cake or brownies for a twist. Just ensure that whatever base you choose can hold up as a cohesive mixture when combined with the chocolate.
What’s the best way to store my Halloween cake pops?
Very! For short-term storage, keep your Halloween cake pops at room temperature for up to 2 days in an airtight container. If you want them to last longer, pop them in the fridge, where they can stay fresh for up to 5 days. Just be sure to keep the container sealed to prevent them from drying out!
Can I freeze Halloween cake pops, and if so, how?
Absolutely! If you want to make your cake pops ahead of time, freezing them is a great option. First, wrap each chilled cake pop in plastic wrap to prevent freezer burn. Then, place them in a freezer-safe bag or container. They can be frozen for up to 2 months. When you’re ready to enjoy, just let them sit at room temperature for about 15 minutes before serving. This will help restore their delightful texture!
What should I do if my cake balls are falling apart?
Oh no! If your cake balls are crumbling, it usually means they need a little more binding. To fix this, you can add melted chocolate or a bit of frosting to your mixture, then mix well until it becomes a sticky dough again. Additionally, ensure that you’re chilling the mixture adequately before rolling the balls, as they need to be firm enough to hold together.
Are there any dietary considerations with these Halloween cake pops?
Absolutely! Feel free to customize based on dietary needs. For gluten-free options, look for gluten-free chocolate cookies and cake. If there’s a chocolate allergy, you can use vanilla cookies in place of chocolate ones. Always read ingredient labels carefully, especially for decorative candies like sugar-coated chocolate beans, to ensure they meet your dietary requirements. If making for kids, be mindful of allergy-friendly options like dye-free chocolate and natural, safe food coloring.
Can I include my pets in the decorating fun?
Very much so, but with caution! While many of the ingredients are perfectly fine for kids, chocolate is toxic to dogs and cats. Always keep your furry friends safely away from any chocolate-based ingredients and treats. Instead, involve your pets by letting them watch from a safe distance or setting aside a few pet-friendly treats for them to enjoy while you bake!
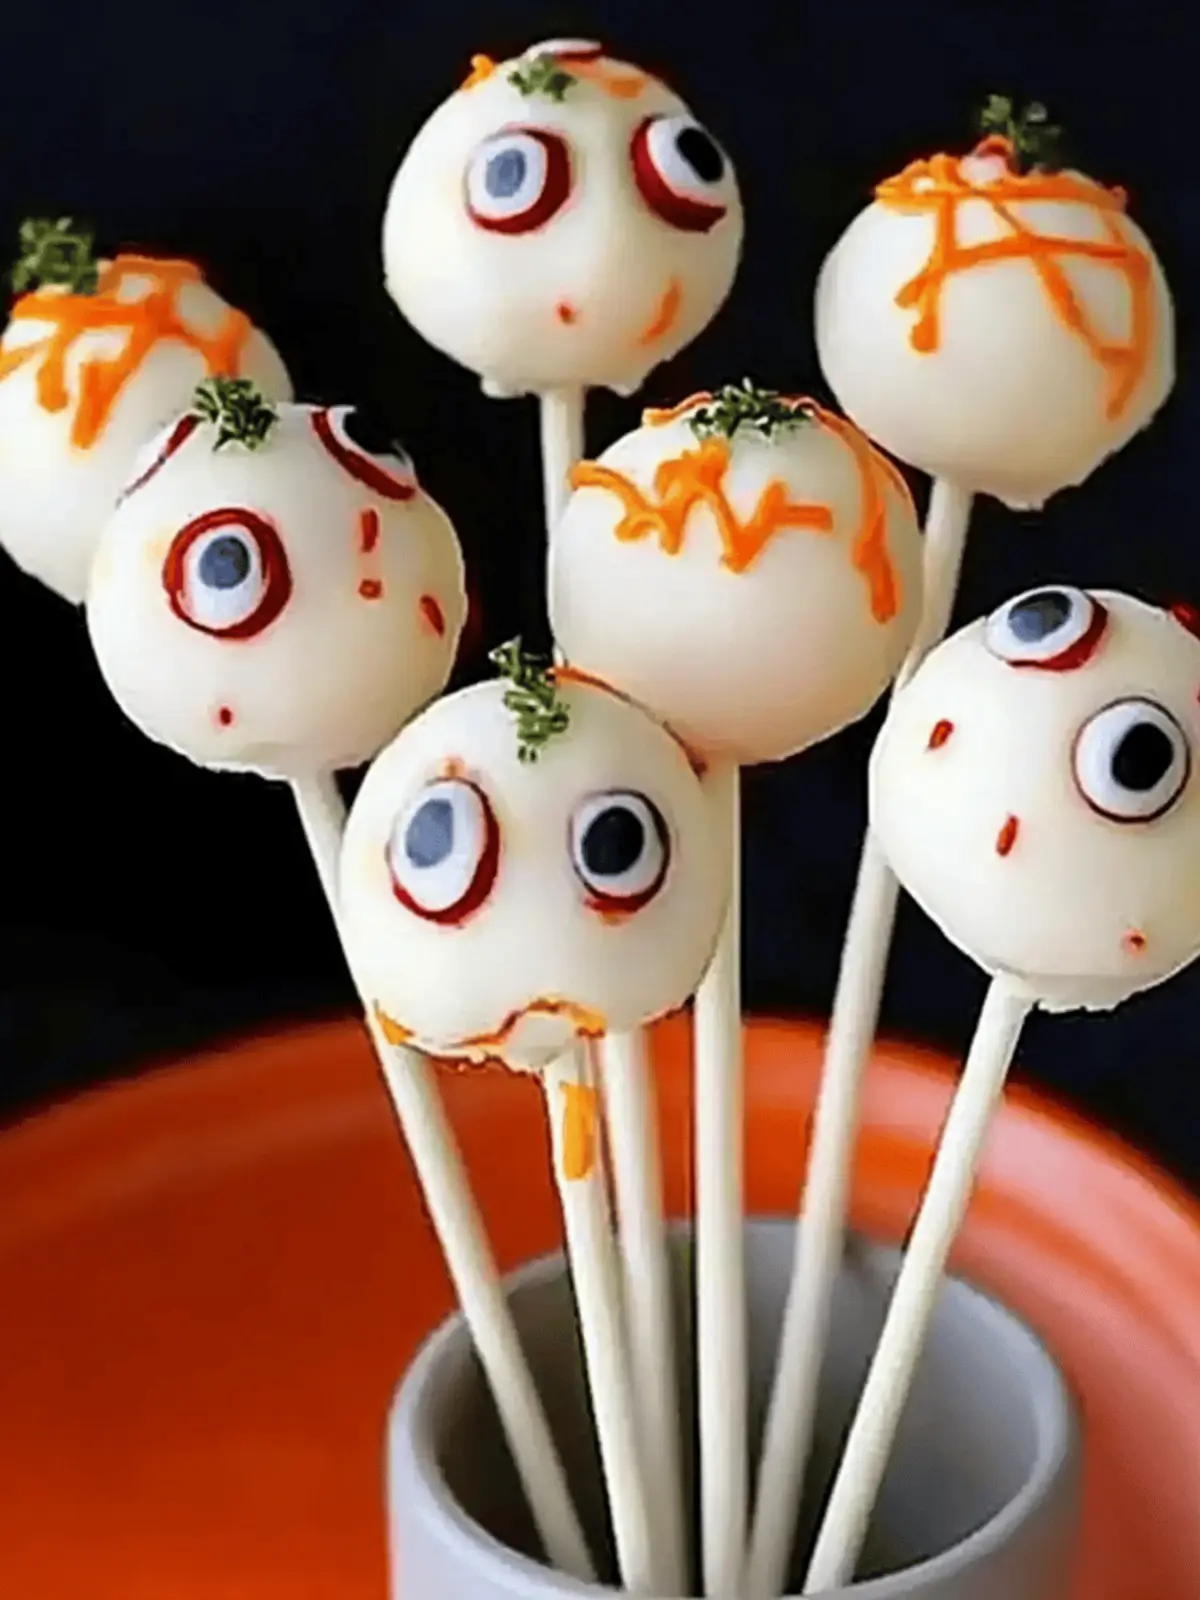
Spooky Halloween Cake Pops for Ghoulishly Fun Treats
Ingredients
Equipment
Method
- Prepare Cake Mixture: Break the Madeira cake and chocolate cookies into a food processor, then add melted milk chocolate and blend until fully combined and resembles fine crumbs.
- Shape Cake Balls: Transfer the mixture to a bowl, roll it into about 10 walnut-sized balls, and chill in the refrigerator for around 2 hours until firm and set.
- Coat and Decorate: Insert a wooden skewer into each cake ball, dip in melted white chocolate, and stand the pops upright in a pumpkin. Before the chocolate sets, gently press a sugar-coated chocolate bean into each pop for that eerie eyeball effect.
- Final Touch: Once the chocolate has fully hardened, use icing pens to create pupils and add some fun red veins to enhance the spooky look!

