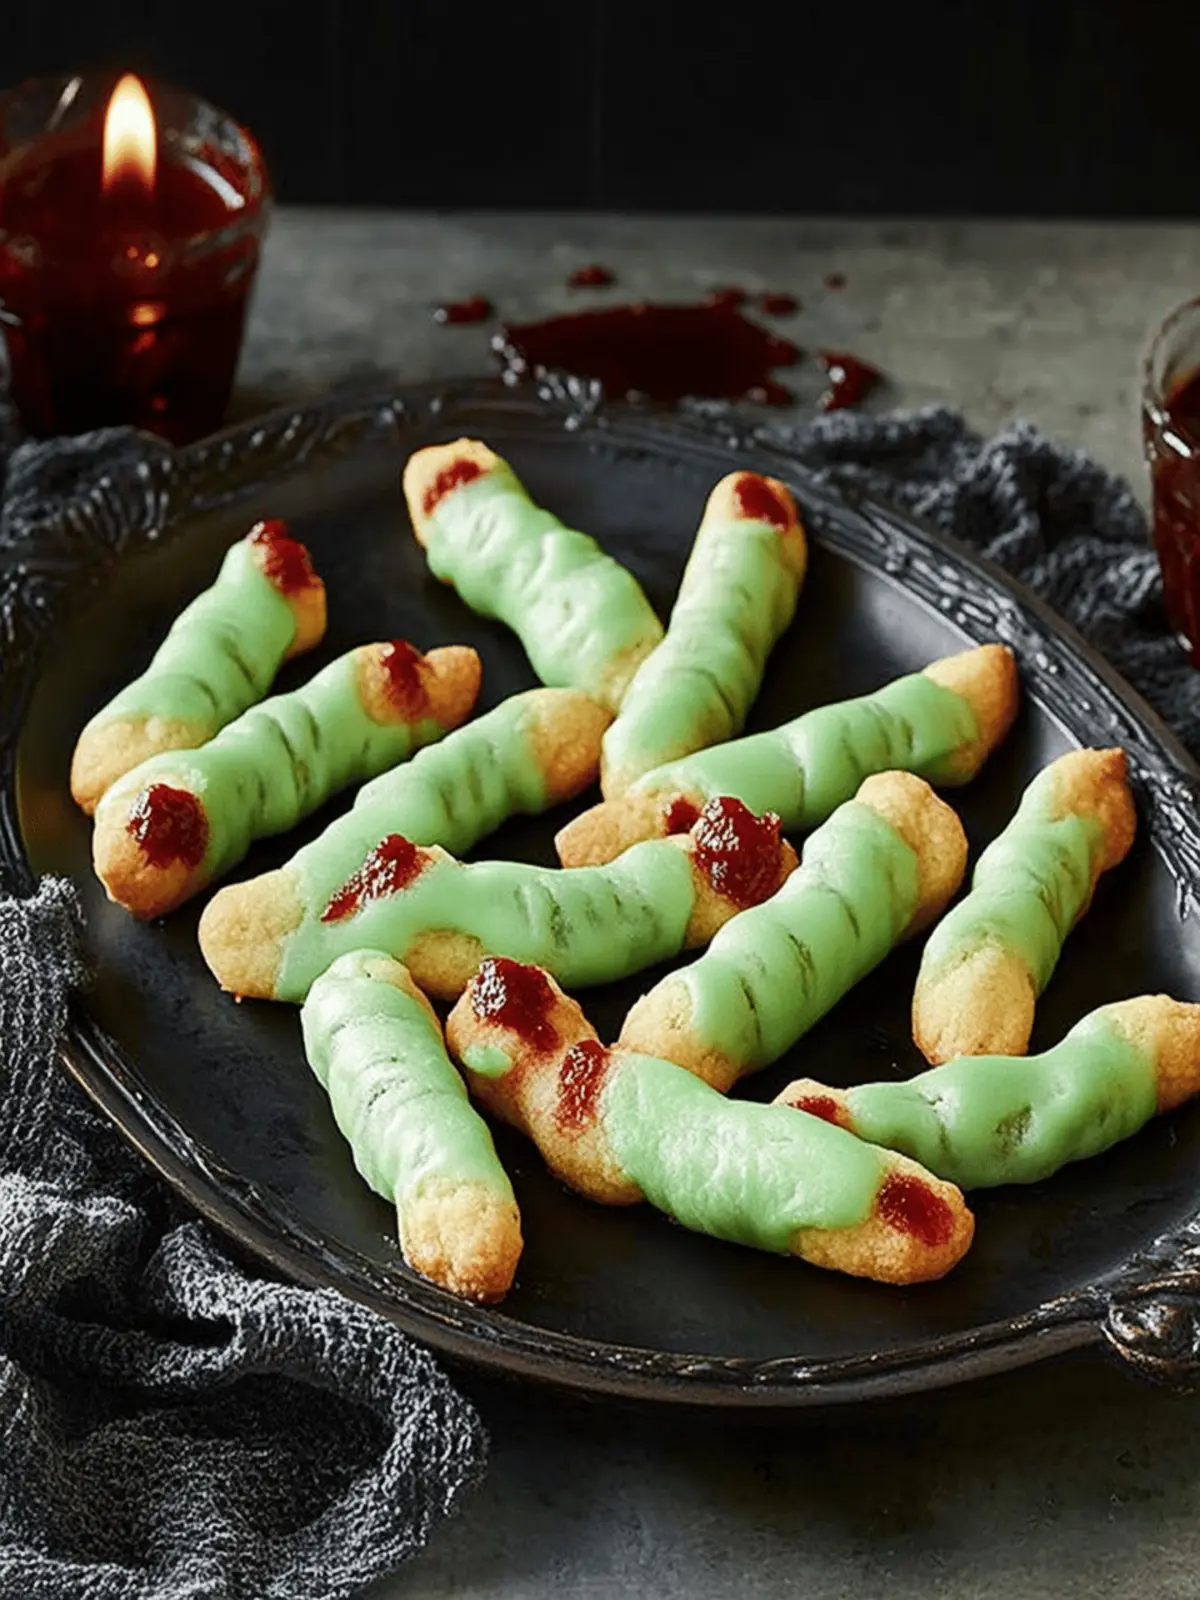
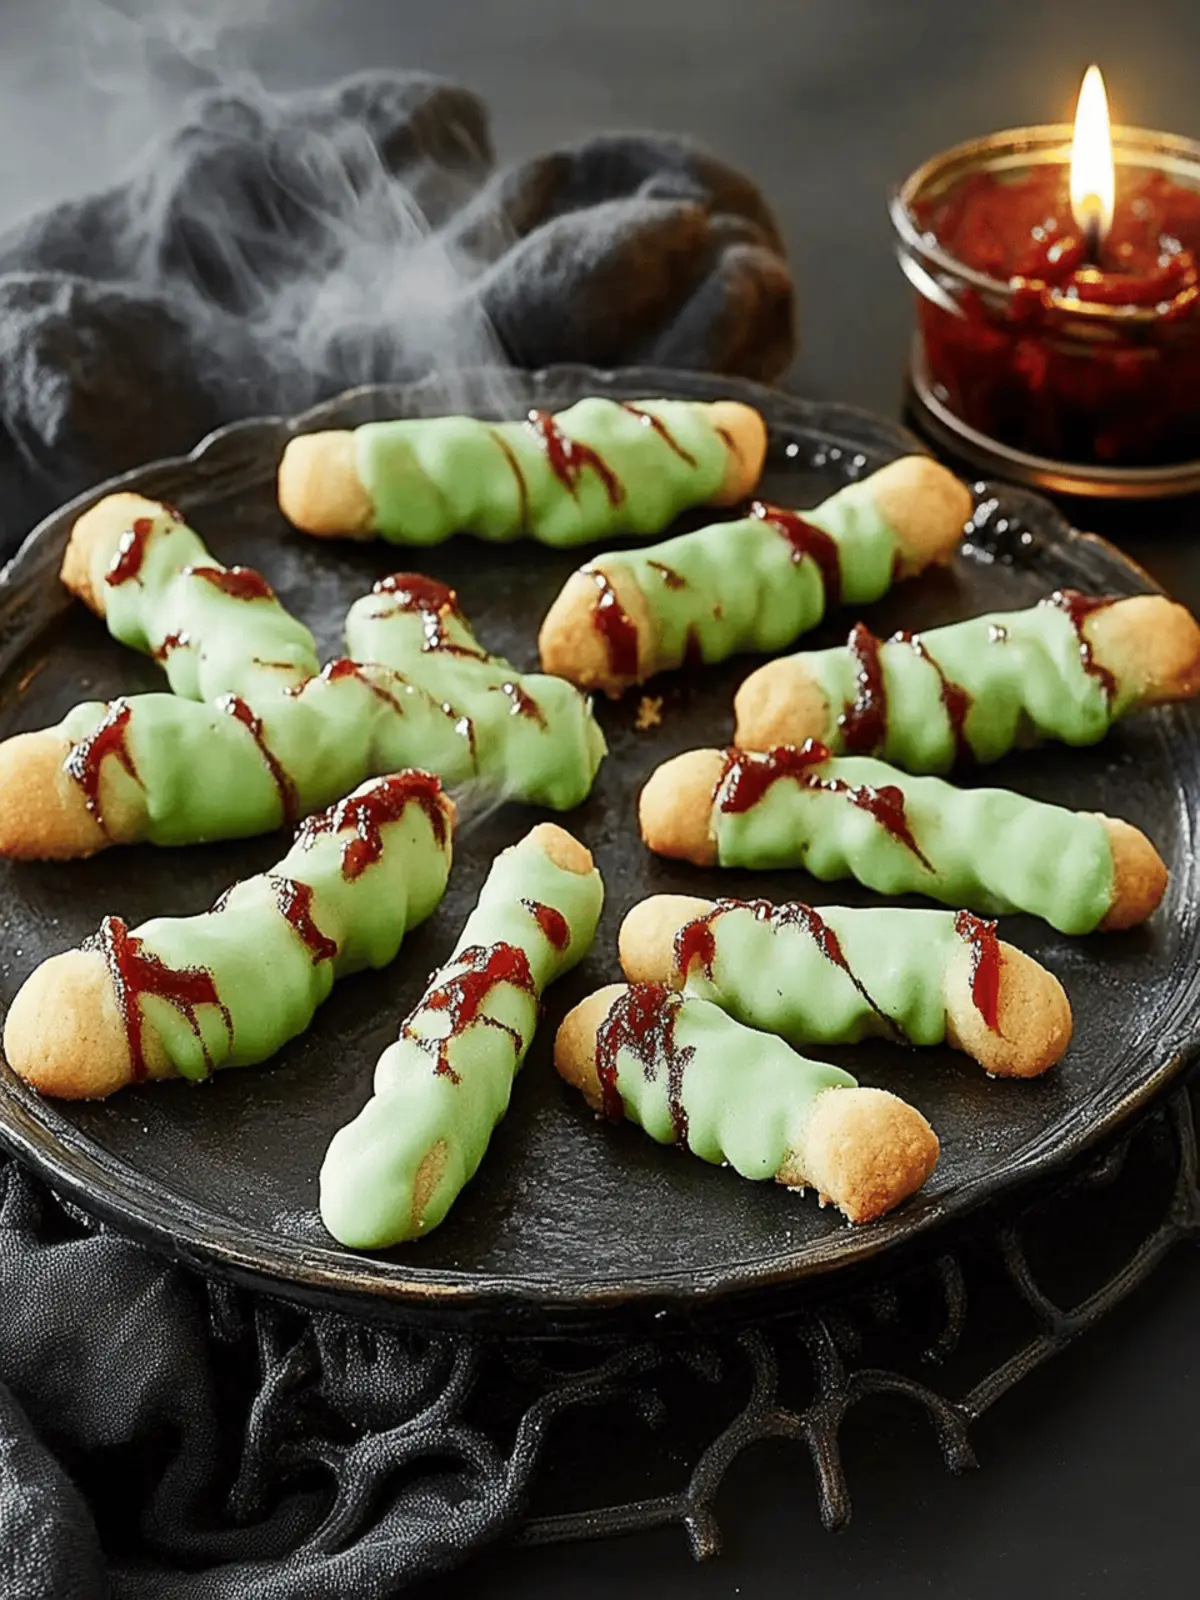
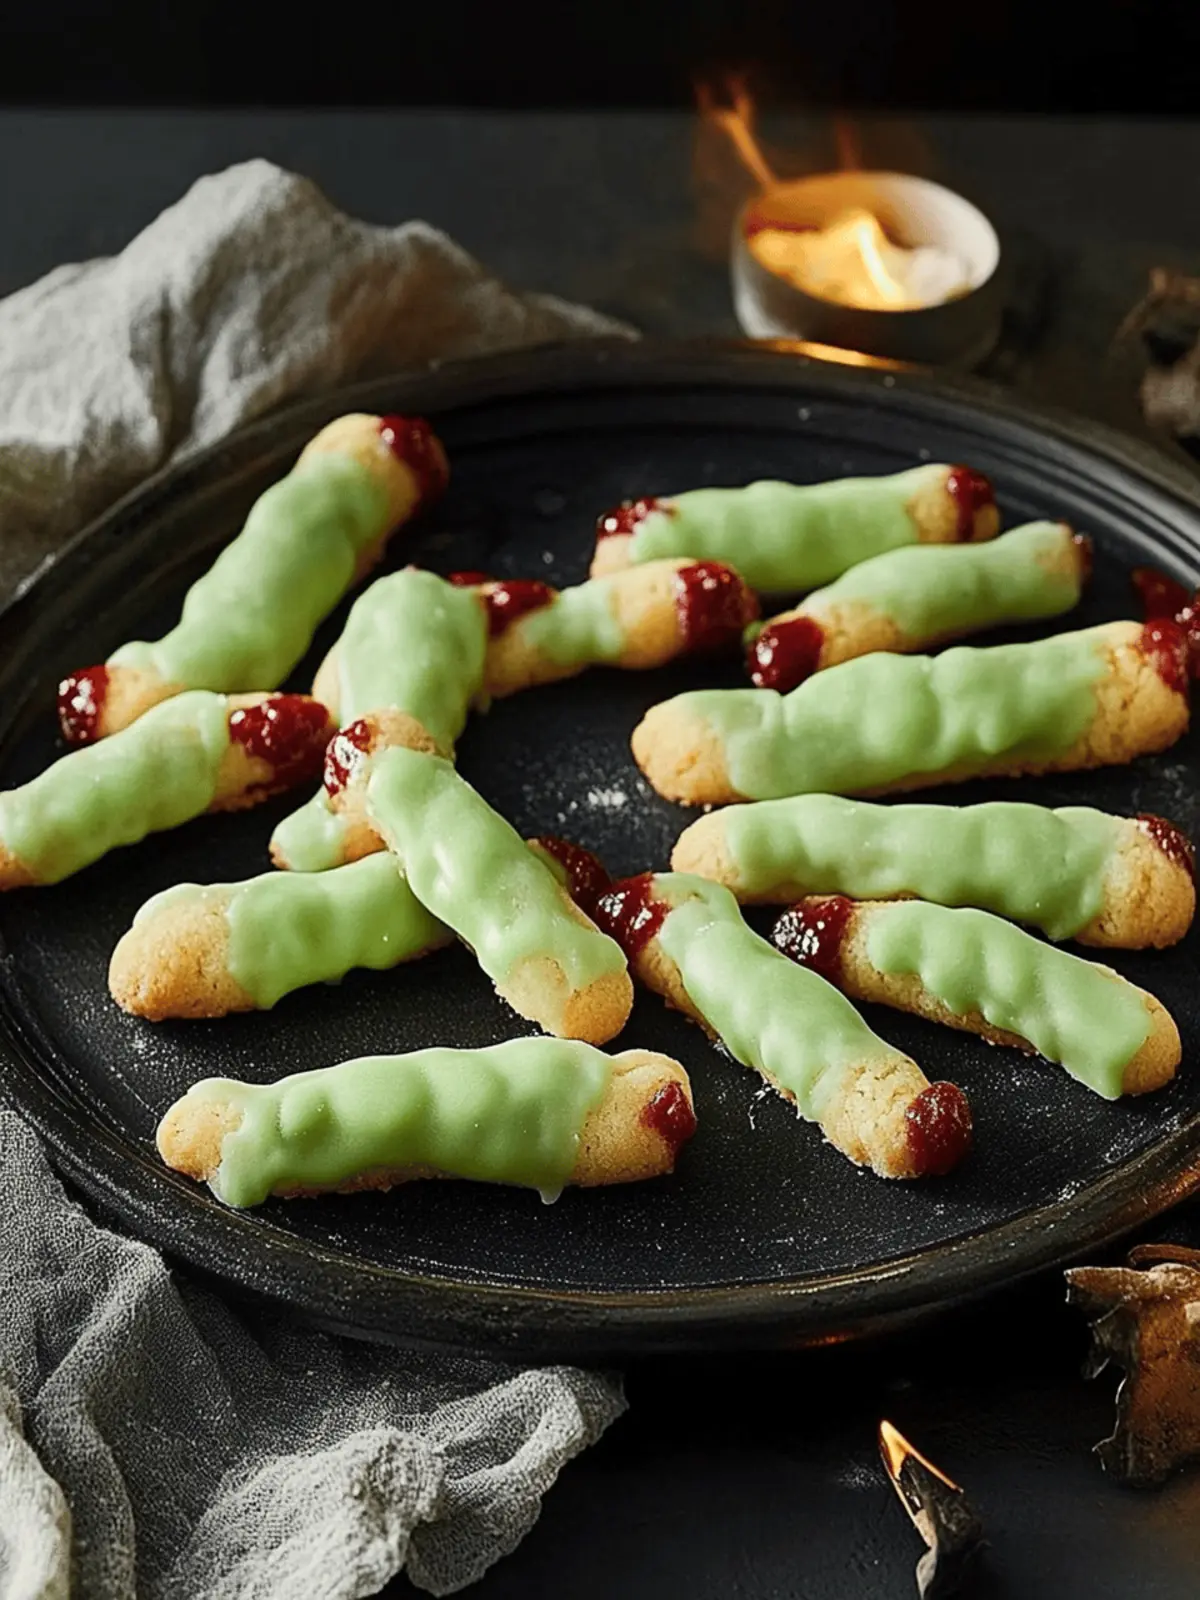
When the days grow shorter and the air turns crisp, my thoughts drift to the magic of Halloween, stirring up memories of spookily delightful treats. It was during one of those bustling autumn afternoons that I stumbled upon an enchanting recipe for Witch Finger Cookies—an eerie yet utterly charming addition to any Halloween spread. With their vivid green hue and quirky finger-like shapes, these cookies are sure to be a conversation starter at any gathering.
They’re not just about appearances, though; the combination of nutty pistachios and a sweet jam “blood” topping creates an irresistible flavor that will keep everyone reaching for more. Whether you’re throwing a spirited party or simply craving a whimsical dessert, these cookies promise to deliver that perfect blend of fright and delight. Get ready to whip up a batch that’s as fun to make as it is to eat!
Why Are Witch Finger Cookies So Fun?
Spooky visuals are just the beginning! These cookies bring creativity to your kitchen with their eerie finger-like shapes and vibrant green color. Flavor-packed with nutty pistachios and a delightful jam “blood” topping, they’re as delicious as they are captivating. Perfect for gatherings, these treats are sure to be the highlight of your Halloween party. Make-ahead option allows the dough to sit for up to 2 days, saving you time on the big night. Crowd-pleaser appeal guarantees that both kids and adults will be enchanted by every spooky bite!
Witch Finger Cookies Ingredients
For the Cookie Dough
• Confectioners’ Sugar – Provides sweetness and structure. Note: Can substitute with granulated sugar, but texture may vary slightly.
• Unsalted Butter (softened) – Adds richness and moisture. Substitution: Use vegan butter for a dairy-free option.
• Large Egg – Binds ingredients together. Note: Ener-G egg replacer can be used for egg-free version.
• Almond Extract – Enhances flavor profile with a nutty aroma. Substitution: Vanilla extract can be used in place of almond extract.
• Pure Vanilla Extract – Provides depth of flavor. Note: Essential for balanced taste.
• Green Food Coloring – Gives the cookies their spooky color. Substitution: Natural food coloring can be used for a more natural alternative.
• All-Purpose Flour – Provides structure to the dough. Note: Gluten-free flour can replace for gluten-sensitive diets with adjustments.
• Kosher Salt – Enhances flavor balance. No substitutions needed unless dietary restrictions apply.
• Finely Chopped Pistachios – Adds texture and nutty flavor, mimicking warts. Note: Pecans or walnuts can substitute but will change the flavor profile.
For Decoration
• Sliced Almonds – Used for the fingernail effect. Note: Can replace with slivered almonds if desired.
• Cherry, Strawberry, or Raspberry Jam – Serves as “blood” to finish the cookies. Substitution: Can use any thick jam for a similar effect.
How to Make Witch Finger Cookies
-
Prepare the Dough: In a large bowl, beat together confectioners’ sugar and softened butter until pale and fluffy. Next, mix in the egg, almond and vanilla extracts, and food coloring until everything is well incorporated.
-
Combine Dry Ingredients: Whisk together the all-purpose flour and kosher salt in a separate bowl. Gradually mix this into the wet ingredients until just combined, then fold in the finely chopped pistachios for that nutty crunch.
-
Chill the Dough: Cover the bowl tightly with plastic wrap and refrigerate the dough for at least 30 minutes, or up to 2 days. This chilling time is crucial for achieving the right texture and preventing spreading during baking.
-
Shape Cookies: Once the dough is chilled, remove it from the fridge. Roll pieces of dough into finger shapes, pressing sliced almonds into the ends for fingernails, and using a knife to create knuckle shapes for realism.
-
Freeze & Bake: Place the shaped cookies on a baking sheet and freeze them for 30 minutes. Preheat your oven to 375°F (190°C) and bake the cookies for 7-9 minutes until their edges are firm and they appear dry on top. Allow them to cool slightly before decorating with a generous dollop of jam to simulate “blood.”
Optional: Drizzle with a bit of melted chocolate for added spookiness!
Exact quantities are listed in the recipe card below.
Witch Finger Cookies Variations
Customize your Witch Finger Cookies with these delightful twists that will charm and intrigue your guests!
-
Dairy-Free: Swap unsalted butter with vegan butter or coconut oil for a rich, dairy-free treat that everyone can enjoy.
-
Nut-Free: Replace pistachios with sunflower seeds for a nut-free option that still adds texture while ensuring safe snacking for kids with allergies.
-
Flavorful Extras: Mix in a teaspoon of orange zest for a citrus burst, or try peppermint extract for a refreshing twist that adds an unexpected kick.
-
Zesty Sugar: Dust the cookies with a blend of superfine sugar and lemon zest for a tangy finish that brightens every bite!
-
Fruit-Filled Centers: For an extra surprise, encase a small dollop of fruit preserves inside the dough when shaping the fingers to create a hidden jam surprise.
-
Spicy Kick: Add a pinch of cayenne pepper to the dough for an enchanting, warm twist that surprises palates and leaves guests guessing.
-
Chocolate Drizzle: Melt some dark chocolate to drizzle over the cooled cookies, adding an indulgent touch that complements the sweetness perfectly.
-
Themed Colors: Get creative with food coloring! Use purple or orange hues instead of green for festive cookies that scream Halloween fun.
Expert Tips for Witch Finger Cookies
-
Chill the Dough: Ensure the dough is chilled for at least 30 minutes to prevent the cookies from spreading in the oven.
-
Use Quality Ingredients: Fresh butter, pure extracts, and vibrant food coloring elevate the flavor and appearance of your Witch Finger Cookies.
-
Pressing Almonds: Firmly press the sliced almonds into the cookies for fingernails to ensure they stay in place during baking.
-
Cut Knuckles Neatly: A sharp knife for creating knuckle shapes leads to a more realistic look; practice makes perfect!
-
Handle Gently: Be gentle when adding jam “blood” after baking, as the cookies can be fragile.
-
Store Wisely: Keep your Witch Finger Cookies in an airtight container at room temperature, but consume within three days for optimal freshness.
What to Serve with Witch Finger Cookies?
When hosting a spirited Halloween gathering, pairing these delightful cookies with the right accompaniments can elevate the overall experience.
-
Spooky Punch: A refreshing blend of fruit juices and soda, adding a splash of color and complementing the cookies’ sweet notes.
-
Ghostly Marshmallow Treats: Fluffy marshmallows shaped like ghosts make for a fun, whimsical side that kids will adore.
-
Cheese and Salami Platter: The savory elements of cheese and salami offer a delightful contrast to the cookies’ sweetness, making for balanced snacking.
-
Themed Cupcakes: Halloween-themed cupcakes adorned with ghoulish frosting can create a magnificent dessert spread alongside the Witch Finger Cookies.
-
Pumpkin Soup: A warm, hearty pumpkin soup is a comforting addition, enhancing the festive fall flavors of the season.
-
Creepy Caramel Apples: These treats add a sweet and crunchy bite, allowing guests to enjoy some classic Halloween fun.
-
Glowing Drinks: Use tonic water and a splash of black light-reactive drinks to create eerie glowing beverages that will enchant everyone.
Consider these pairings for your Halloween soirées, ensuring a festive atmosphere where both spooky and scrumptious elements come together!
Make Ahead Options
These Witch Finger Cookies are perfect for busy home cooks looking to save time during the Halloween rush! You can prepare the dough up to 2 days in advance; simply cover it tightly with plastic wrap and store it in the refrigerator to keep it fresh and prevent any drying out. If you want to extend the convenience, you can also freeze the shaped cookies for up to 3 months. Just arrange the cookies on a baking sheet to freeze them individually before transferring to a freezer bag. When you’re ready to bake, simply preheat the oven and bake the frozen cookies straight from the freezer for a delightful, spooky treat in no time!
Storage Tips for Witch Finger Cookies
-
Room Temperature: Store cooled Witch Finger Cookies in an airtight container at room temperature for up to 3 days. This ensures they stay fresh and maintain their delightful texture.
-
Fridge: If you live in a warm climate, you may store the cookies in the fridge for up to 5 days. Just make sure to seal them well to avoid absorbing other odors.
-
Freezer: To prolong freshness, freeze unbaked, shaped cookies for up to 3 months. Once finished, bake directly from the freezer, adding a couple of extra minutes to the baking time.
-
Reheating: For a soft and warm treat, briefly microwave the cookies for 5-10 seconds. This will enhance the cookie’s tender texture before enjoying!
Witch Finger Cookies Recipe FAQs
What types of nuts work best for Witch Finger Cookies?
The recommended nut for these cookies is finely chopped pistachios, which give the cookies a delightful texture and perfect appearance, mimicking warts. If pistachios aren’t available, you can substitute with pecans or walnuts, but do note that this will slightly alter the flavor profile.
How should I store these cookies once baked?
Store the cooled Witch Finger Cookies in an airtight container at room temperature for up to 3 days to maintain their freshness. If you’re in a particularly hot climate, you can refrigerate them for up to 5 days, ensuring they’re well sealed to prevent any odor absorption.
Can I freeze the cookie dough?
Absolutely! You can freeze unbaked, shaped Witch Finger Cookies for up to 3 months. Just shape the cookies as directed, place them on a baking sheet, and freeze until solid. Transfer them to an airtight container or freezer bag. When you’re ready to bake, simply place them directly from the freezer into a preheated oven, increasing the baking time by a couple of minutes.
What should I do if my dough is too sticky?
If you find your dough is too sticky to shape after chilling, this may be due to some moisture in the air or over-mixing. To troubleshoot, simply sprinkle a little more flour onto your work surface and your hands while shaping, which should help make it easier to form the finger shapes. Don’t worry; they’ll still turn out great!
Can I use an egg replacer for these cookies?
Yes, you can! If you’re looking for an egg-free version, I highly recommend using an egg replacer like Ener-G. For this recipe, replace one egg with 1 tablespoon of the replacer mixed with 2 tablespoons of water. This will bind the ingredients effectively while keeping the cookies delightful and light.
How far in advance can I make the dough?
You can prepare the Witch Finger cookie dough up to 2 days in advance. Just cover your bowl tightly with plastic wrap and refrigerate it until you’re ready to bake. This not only saves you time on the day of your festivities but also enhances the flavors, making for even tastier cookies!
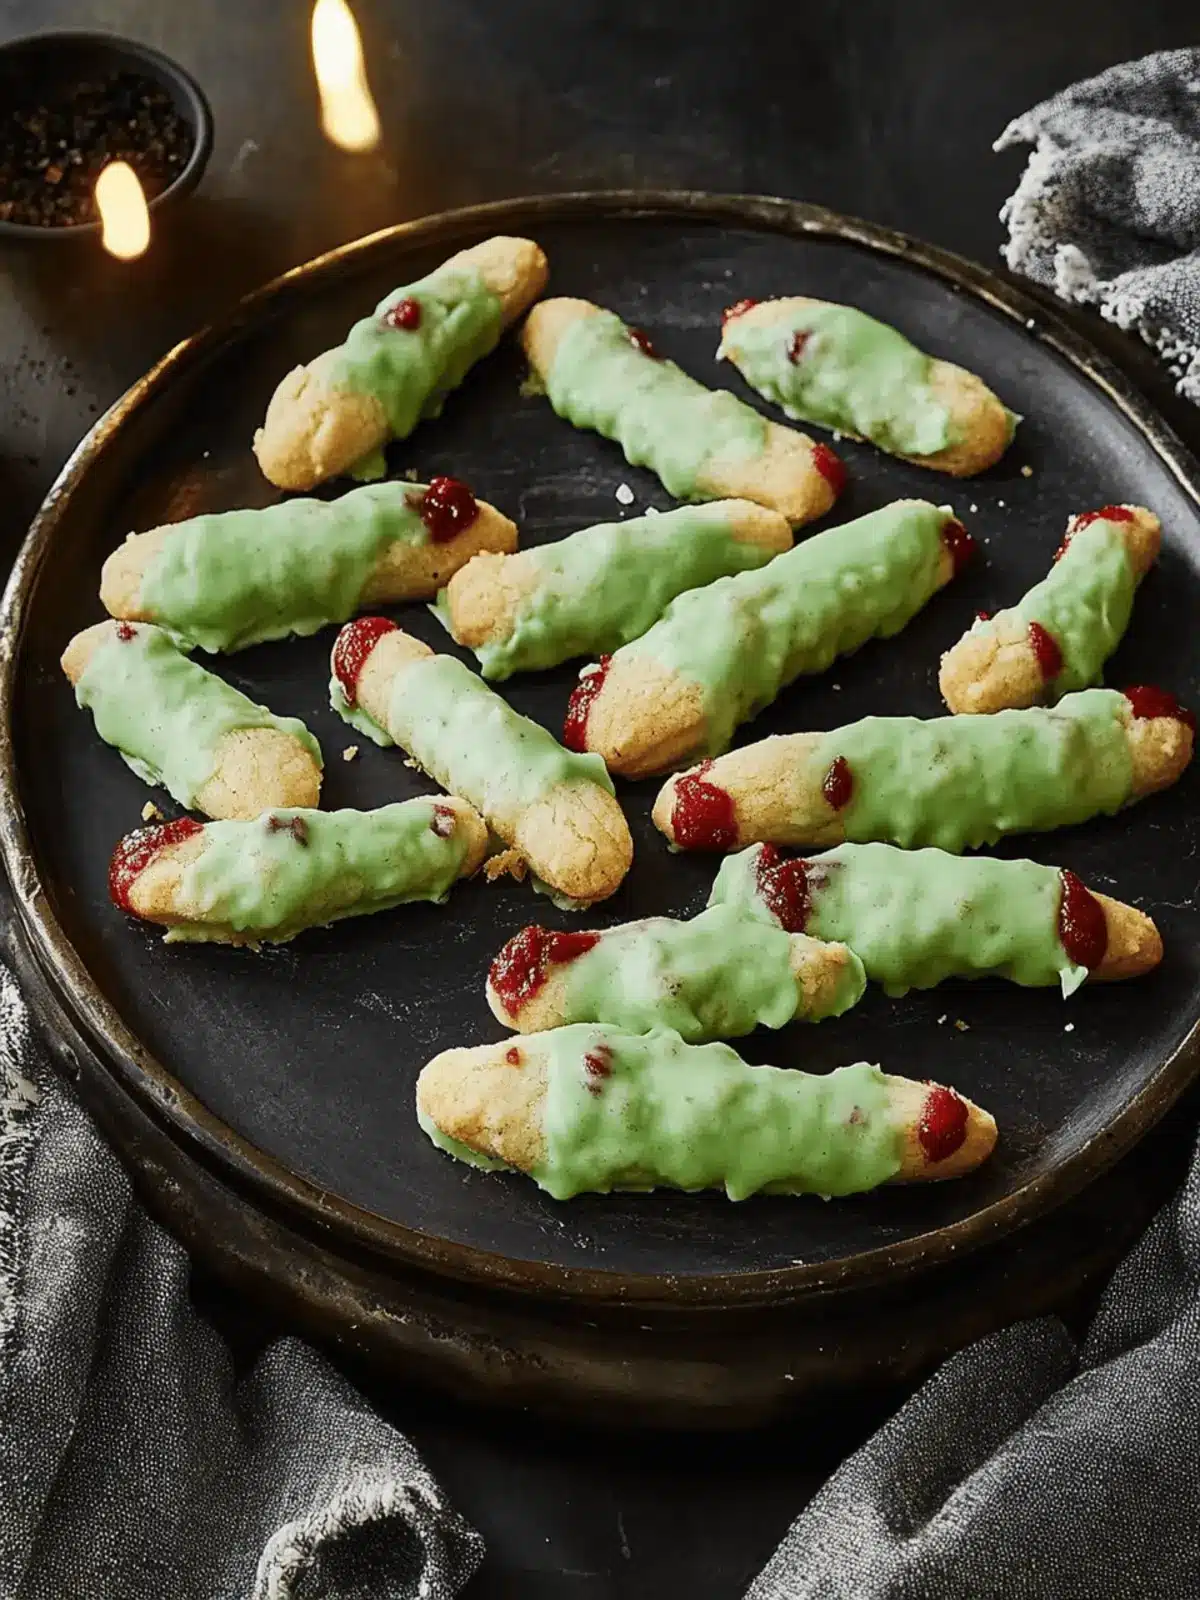
Witch Finger Cookies that Will Bewitch Your Halloween Treats
Ingredients
Equipment
Method
- In a large bowl, beat together confectioners' sugar and softened butter until pale and fluffy.
- Next, mix in the egg, almond and vanilla extracts, and food coloring until everything is well incorporated.
- Whisk together the all-purpose flour and kosher salt in a separate bowl.
- Gradually mix this into the wet ingredients until just combined, then fold in the finely chopped pistachios for that nutty crunch.
- Cover the bowl tightly with plastic wrap and refrigerate the dough for at least 30 minutes, or up to 2 days.
- Once the dough is chilled, remove it from the fridge. Roll pieces of dough into finger shapes, pressing sliced almonds into the ends for fingernails, and using a knife to create knuckle shapes for realism.
- Place the shaped cookies on a baking sheet and freeze them for 30 minutes.
- Preheat your oven to 375°F (190°C) and bake the cookies for 7-9 minutes until their edges are firm and they appear dry on top.
- Allow them to cool slightly before decorating with a generous dollop of jam to simulate 'blood'.
- Optional: Drizzle with a bit of melted chocolate for added spookiness!

